文章目录
RabbitMQ node by Zabbix agent 为Zabbix默认模板,在我们安装好Zabbix Server后就可以直接进行使用了
在配置模板前需要在RabbitMQ 模板修改监控键值
修改默认RabbitMQ node by Zabbix agent 监控项
修改RabbitMQ模板,找到RabbitMQ node by Zabbix agent选择监控项
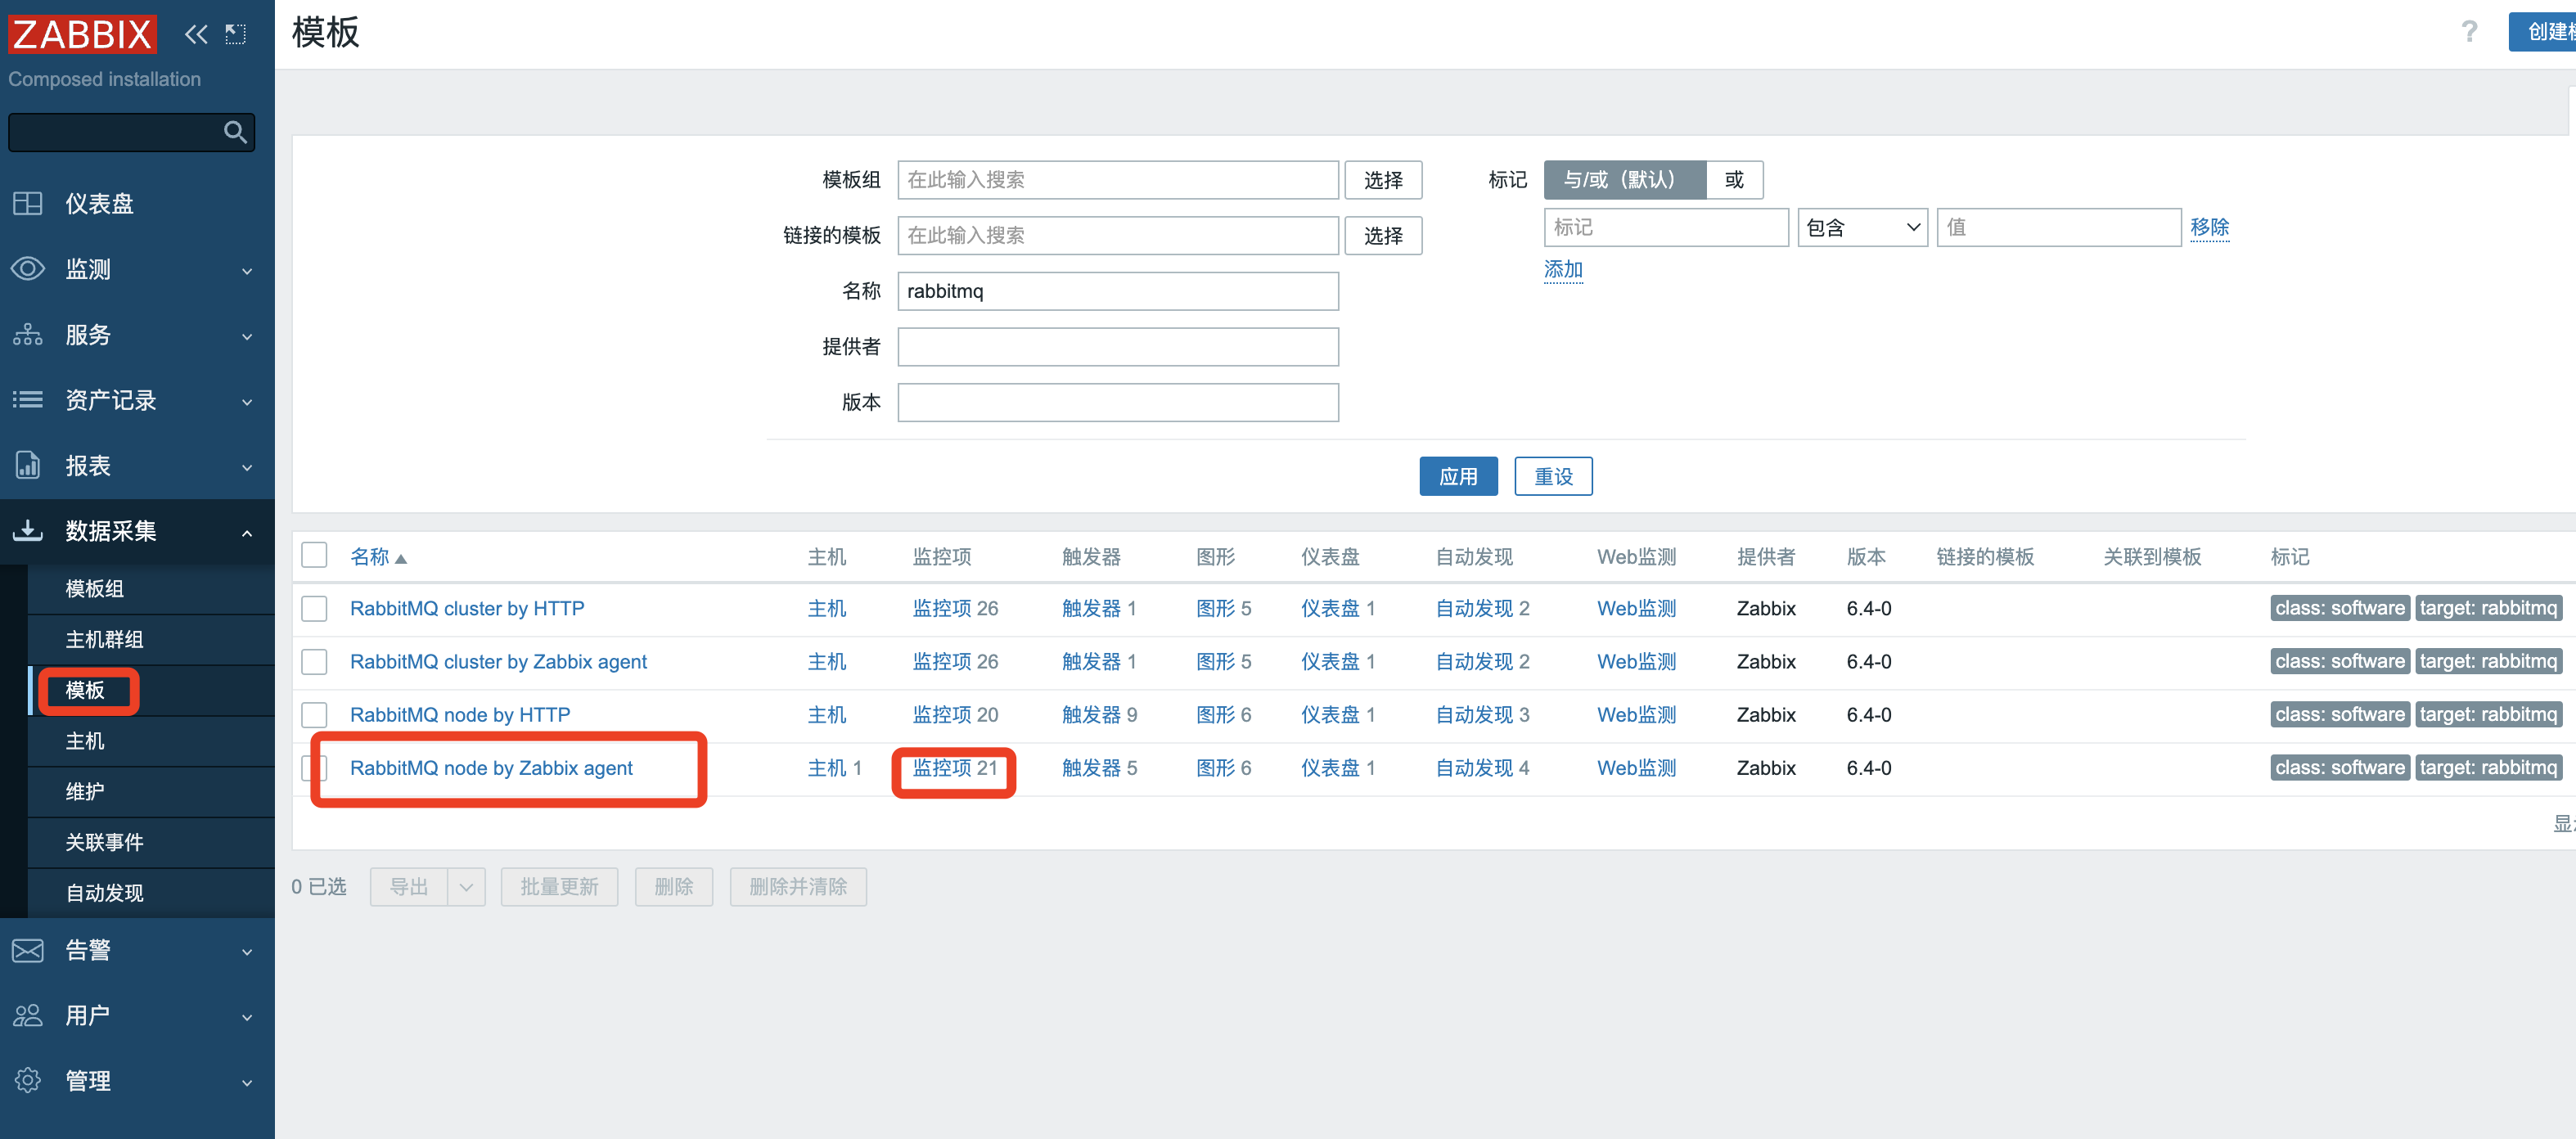
找到RabbitMQ: Get nodes监控项
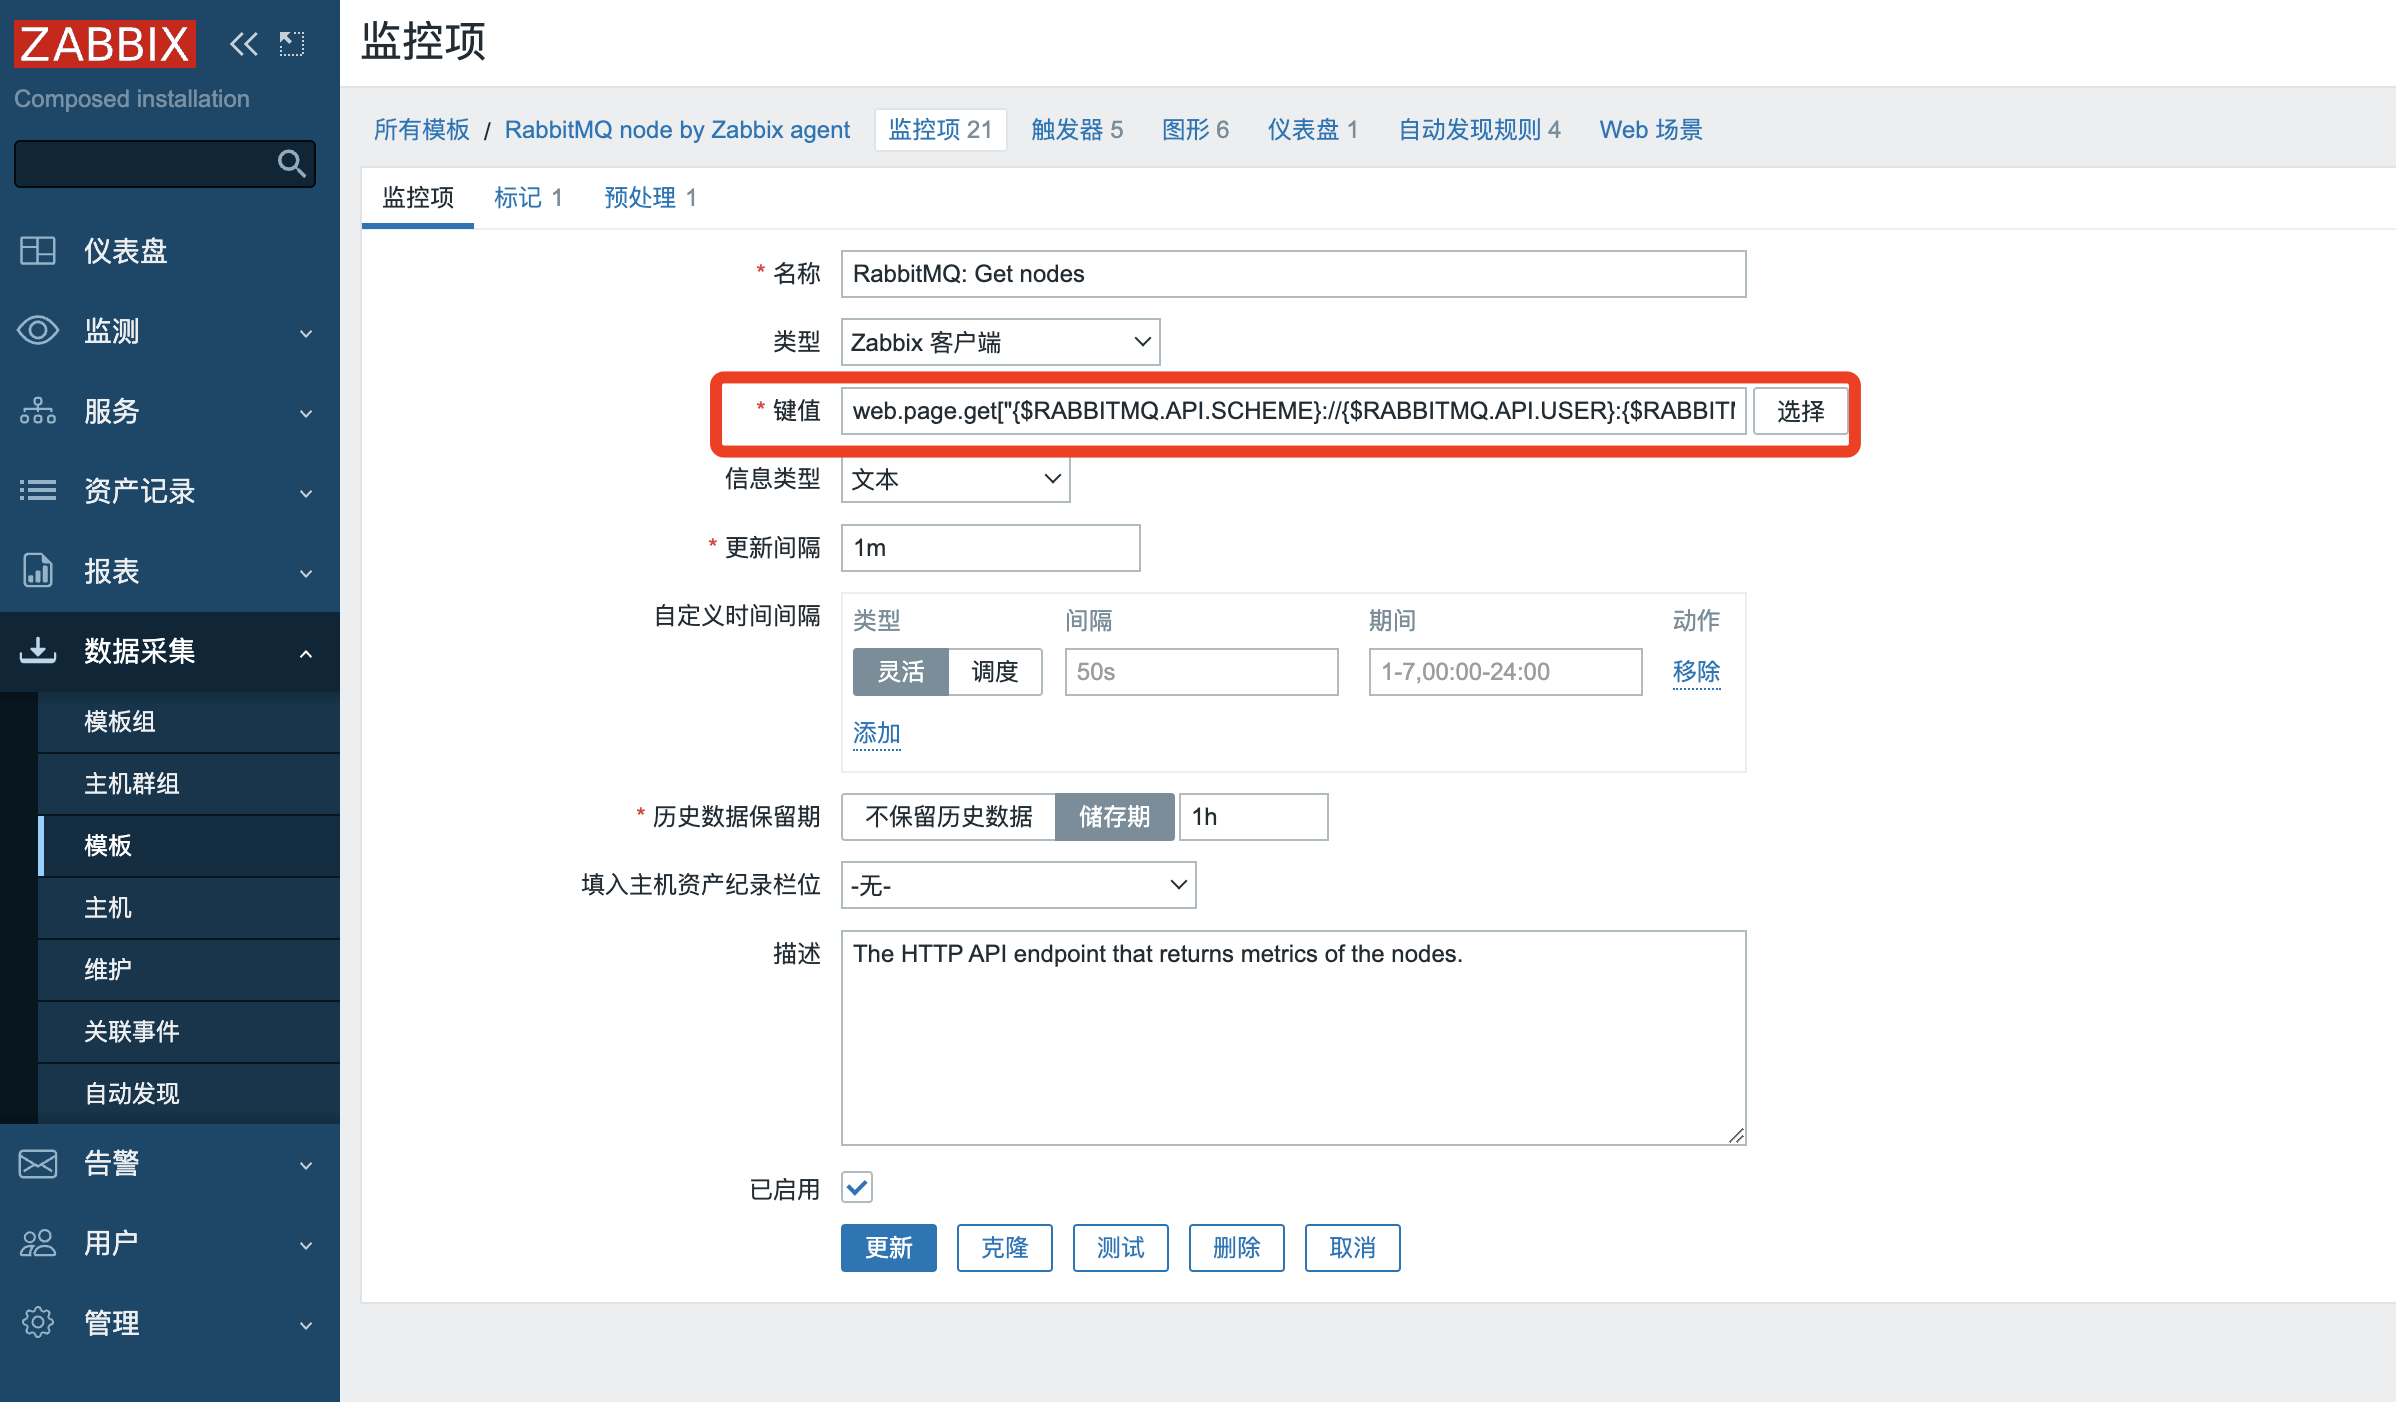
将下面配置进行修改删除
旧配置如下
web.page.get["{$RABBITMQ.API.SCHEME}://{$RABBITMQ.API.USER}:{$RABBITMQ.API.PASSWORD}@{$RABBITMQ.API.HOST}:{$RABBITMQ.API.PORT}/api/nodes/{$RABBITMQ.CLUSTER.NAME}@{HOST.NAME}?memory=true"]修改为 (删除HOST.NAME)
web.page.get["{$RABBITMQ.API.SCHEME}://{$RABBITMQ.API.USER}:{$RABBITMQ.API.PASSWORD}@{$RABBITMQ.API.HOST}:{$RABBITMQ.API.PORT}/api/nodes/{$RABBITMQ.CLUSTER.NAME}?memory=true"]安装RabbitMQ
我这里为了快速的方便安装,RabbitMQ采用docker的方式部署,并且没有做持久化,这里还需要根据自己的实际情况来部署
docker run -d --name rabbitmq -p 5672:5672 -p 15672:15672 rabbitmq:3.9.27-management进入RabbitMQ 容器
root@abcdocker:~# docker exec -it rabbitmq bashRabbitMQ安装完成后,这里需要创建专门监控的用户
rabbitmqctl add_user zabbix zabbix
rabbitmqctl set_permissions  -p / zabbix "" "" ".*"
rabbitmqctl set_user_tags zabbix monitoring
这里我们RabbitMQ创建Zabbix用户,密码也为Zabbix。授权为monitoring权限组
查看用户是否创建成功
root@669216b5e738:/# rabbitmqctl list_users
Listing users ...
user    tags
zabbix  [monitoring]
guest   [administrator]
接下来在Zabbix Server主机curl,测试zabbix用户和RabbitMQ网络通信都是正常
curl http://zabbix:zabbix@192.168.0.6:15672/api/overview

#正常返回值如下
{"management_version":"3.9.27","rates_mode":"basic","sample_retention_policies":{"global":[600,3600,28800,86400],"basic":[600,3600],"detailed":[600]},"exchange_types":[{"name":"direct","description":"AMQP direct exchange, as per the AMQP specification","enabled":true},{"name":"fanout","description":"AMQP fanout exchange, as per the AMQP specification","enabled":true},{"name":"headers","description":"AMQP headers exchange, as per the AMQP specification","enabled":true},{"name":"topic","description":"AMQP topic exchange, as per the AMQP specification","enabled":true}],"product_version":"3.9.27","product_name":"RabbitMQ","rabbitmq_version":"3.9.27","cluster_name":"rabbit@669216b5e738","erlang_version":"25.2.1","erlang_full_version":"Erlang/OTP 25 [erts-13.1.4] [source] [64-bit] [smp:4:4] [ds:4:4:10] [async-threads:1] [jit:ns]","release_series_support_status":"supported","disable_stats":false,"enable_queue_totals":false,"message_stats":{},"churn_rates":{"channel_closed":0,"channel_closed_details":{"rate":0.0},"channel_created":0,"channel_created_details":{"rate":0.0},"connection_closed":0,"connection_closed_details":{"rate":0.0},"connection_created":0,"connection_created_details":{"rate":0.0},"queue_created":0,"queue_created_details":{"rate":0.0},"queue_declared":0,"queue_declared_details":{"rate":0.0},"queue_deleted":0,"queue_deleted_details":{"rate":0.0}},"queue_totals":{},"object_totals":{"channels":0,"connections":0,"consumers":0,"exchanges":7,"queues":0},"statistics_db_event_queue":0,"node":"rabbit@669216b5e738","listeners":[{"node":"rabbit@669216b5e738","protocol":"amqp","ip_address":"::","port":5672,"socket_opts":{"backlog":128,"nodelay":true,"linger":[true,0],"exit_on_close":false}},{"node":"rabbit@669216b5e738","protocol":"clustering","ip_address":"::","port":25672,"socket_opts":[]},{"node":"rabbit@669216b5e738","protocol":"http","ip_address":"::","port":15672,"socket_opts":{"cowboy_opts":{"sendfile":false},"port":15672}},{"node":"rabbit@669216b5e738","protocol":"http/prometheus","ip_address":"::","port":15692,"socket_opts":{"cowboy_opts":{"sendfile":false},"port":15692,"protocol":"http/prometheus"}}],"contexts":[{"ssl_opts":[],"node":"rabbit@669216b5e738","description":"RabbitMQ Management","path":"/","cowboy_opts":"[{sendfile,false}]","port":"15672"},{"ssl_opts":[],"node":"rabbit@669216b5e738","description":"RabbitMQ Prometheus","path":"/","cowboy_opts":"[{sendfile,false}]","port":"15692","protocol":"'http/prometheus'"}]}root@abcdocker:~#
安装Zabbix Agent
 docker run  --name zabbix-agent -t   -v zabbix_agent:/etc/zabbix  -e ZBX_HOSTNAME="apisix"  -e ZBX_SERVER_HOST="192.168.0.10" -e ZBX_SERVER_PORT=10051 -p 10050:10050 --restart=unless-stopped --privileged -d zabbix/zabbix-agent:alpine-6.2-latest

#参数解释
ZBX_HOSTNAME Zabbix主机名,最好和外面的保持一致
ZBX_SERVER_HOST  Zabbix Server 地址
ZBX_SERVER_PORT  Zabbix Server端口号
配置Zabbix Server
进入Zabbix Server

进入主机
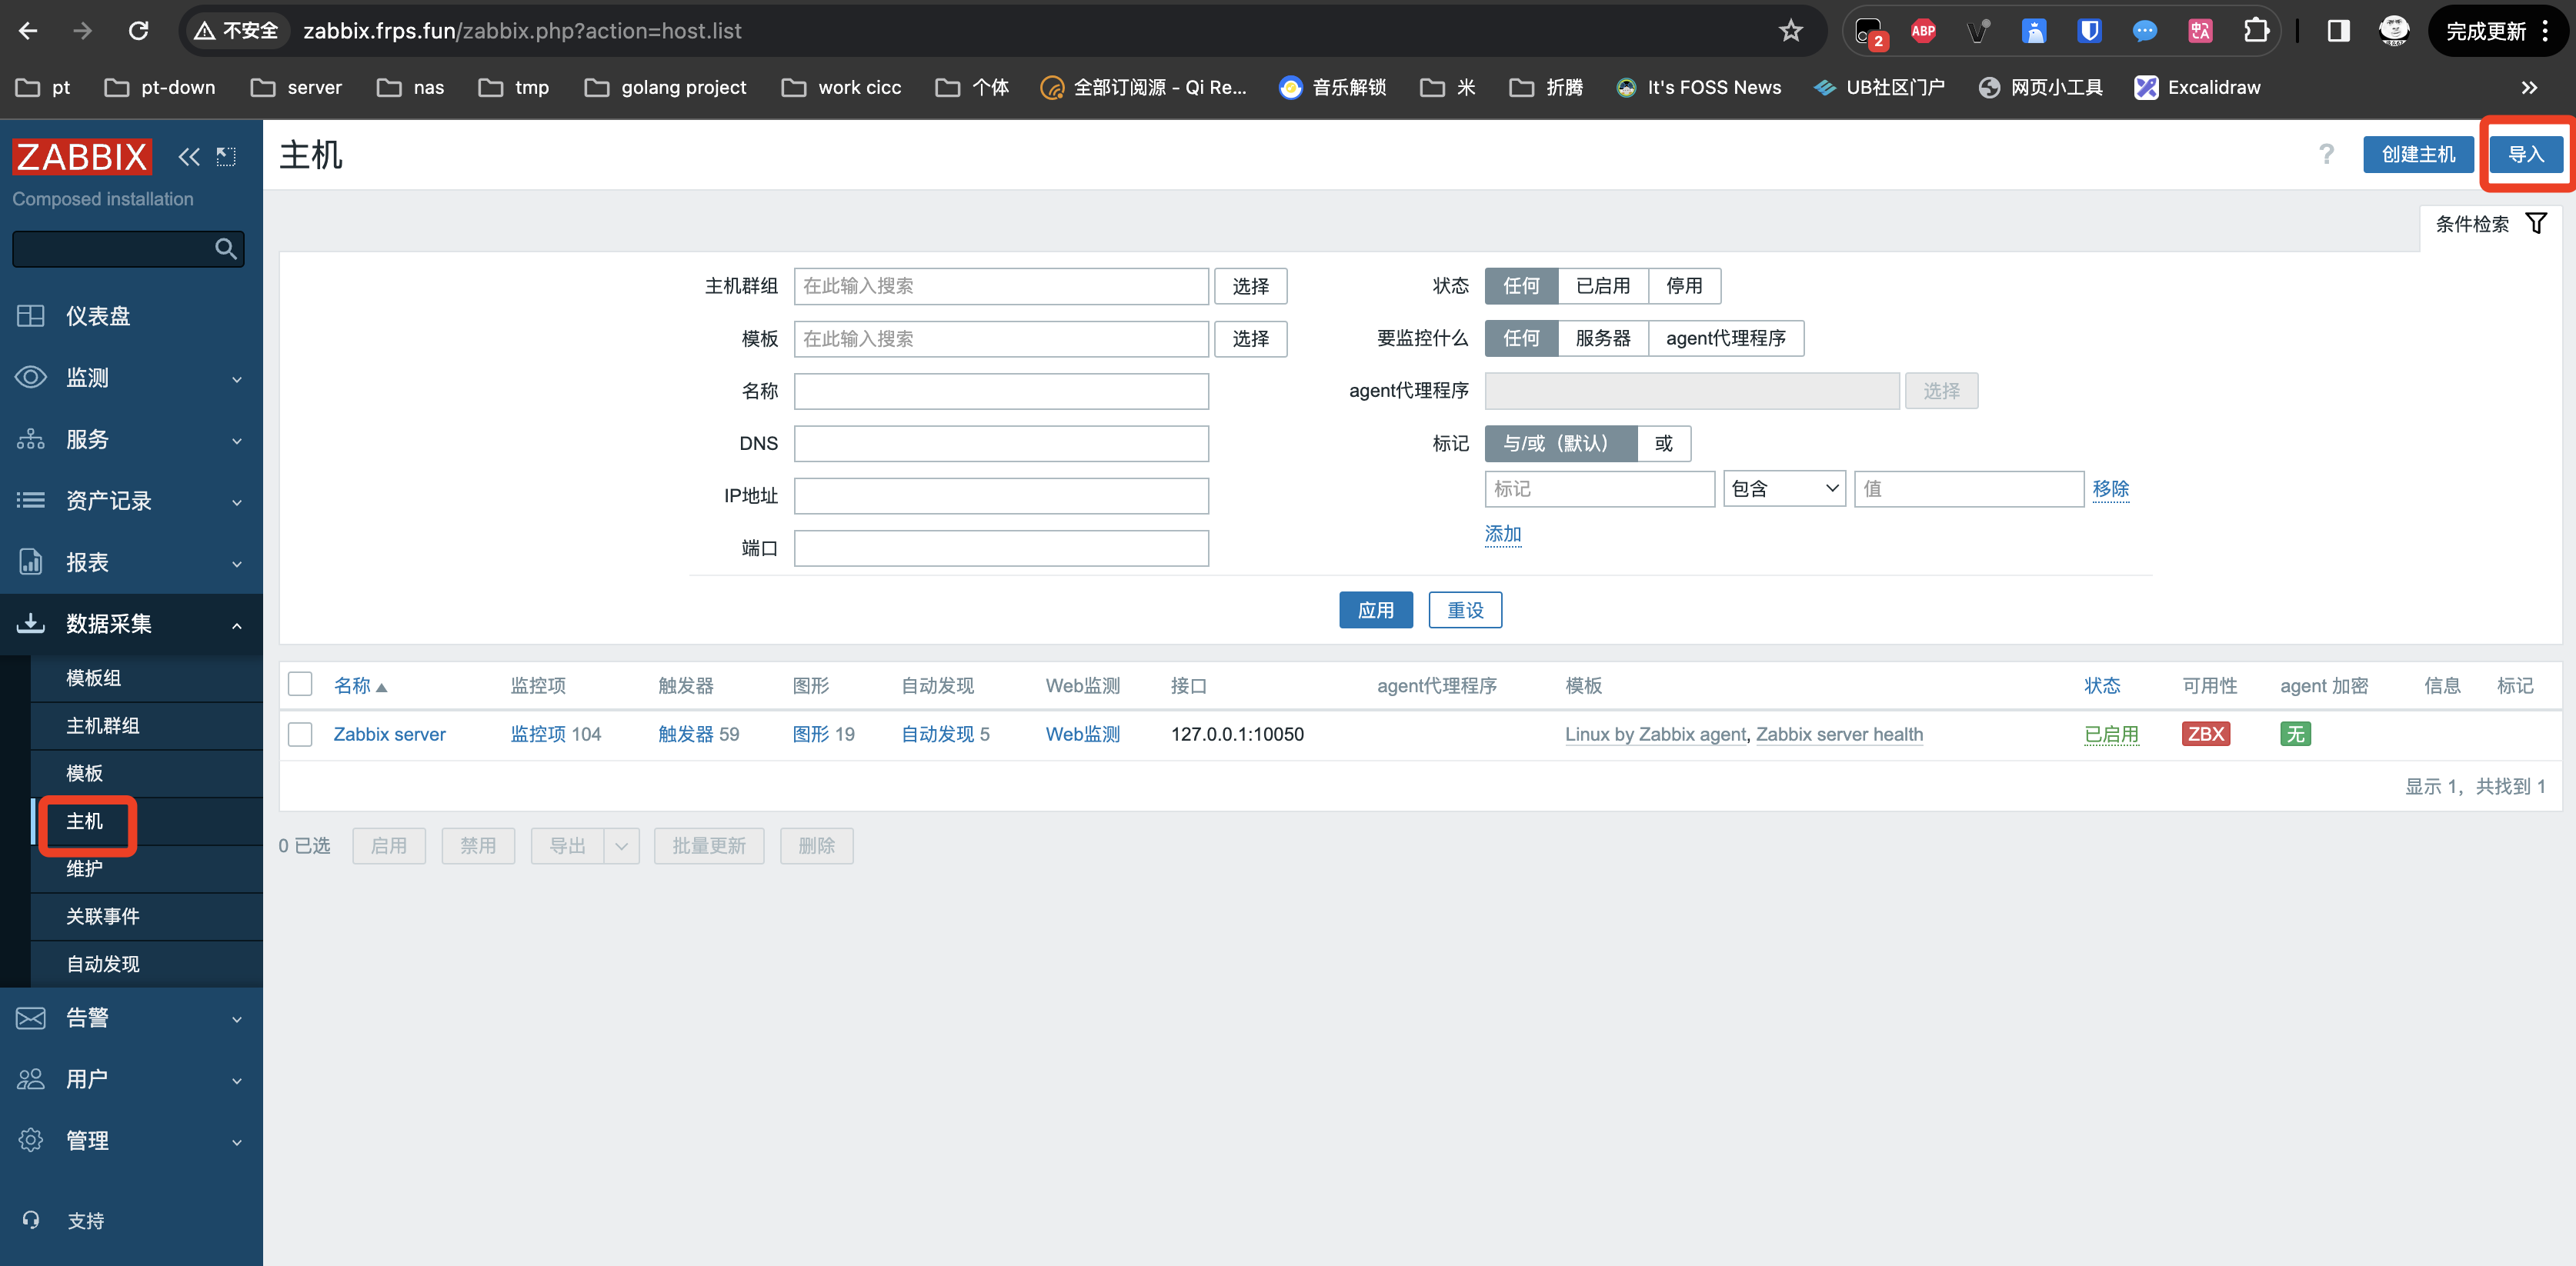
接下来我们创建主机
- 选择Linux by Zabbix agent模板
- 选择RabbitMQ node by Zabbix agent模板
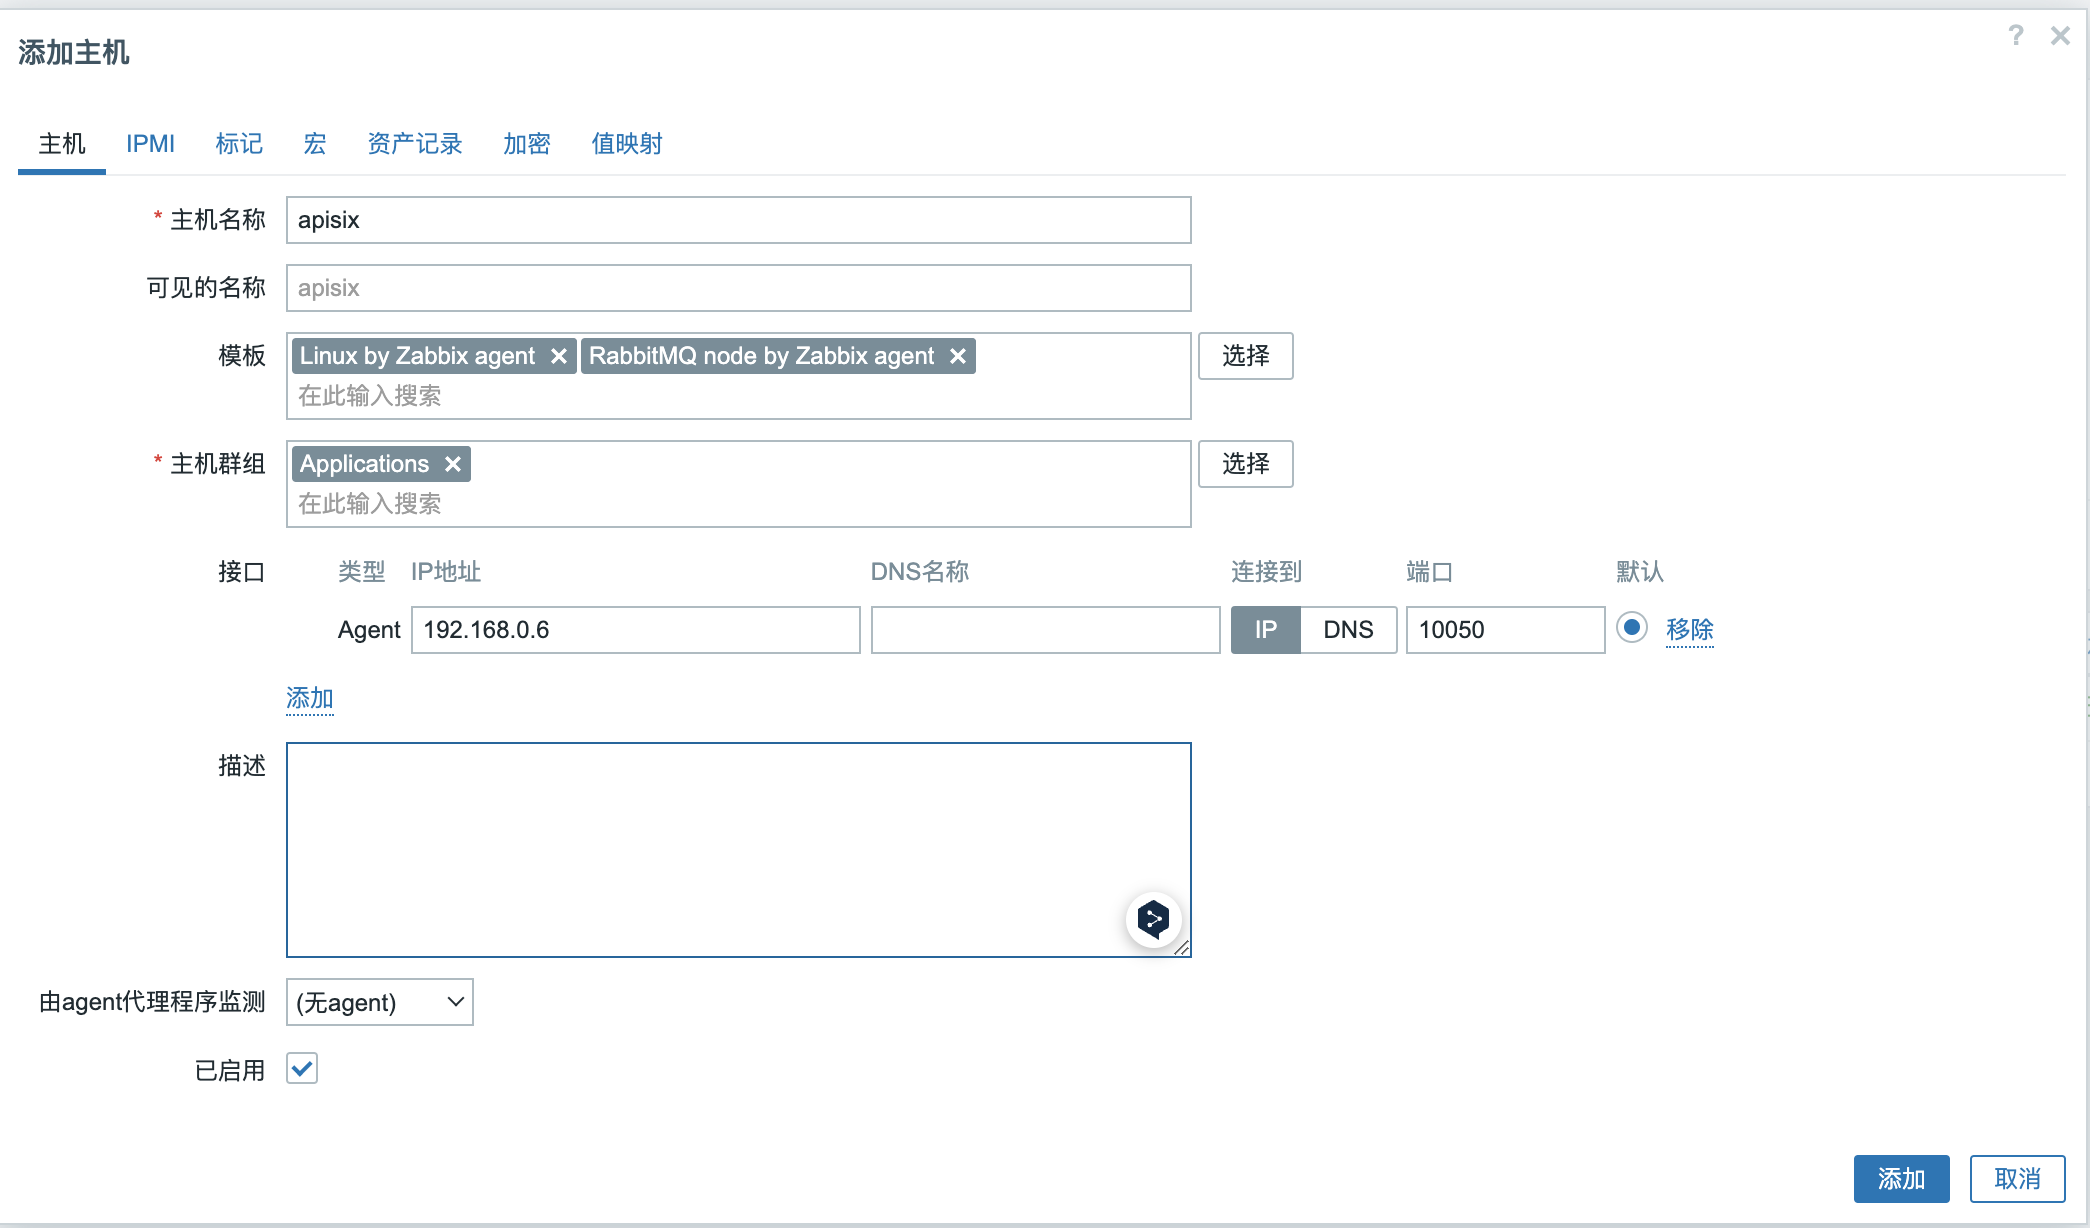
接下来添加宏
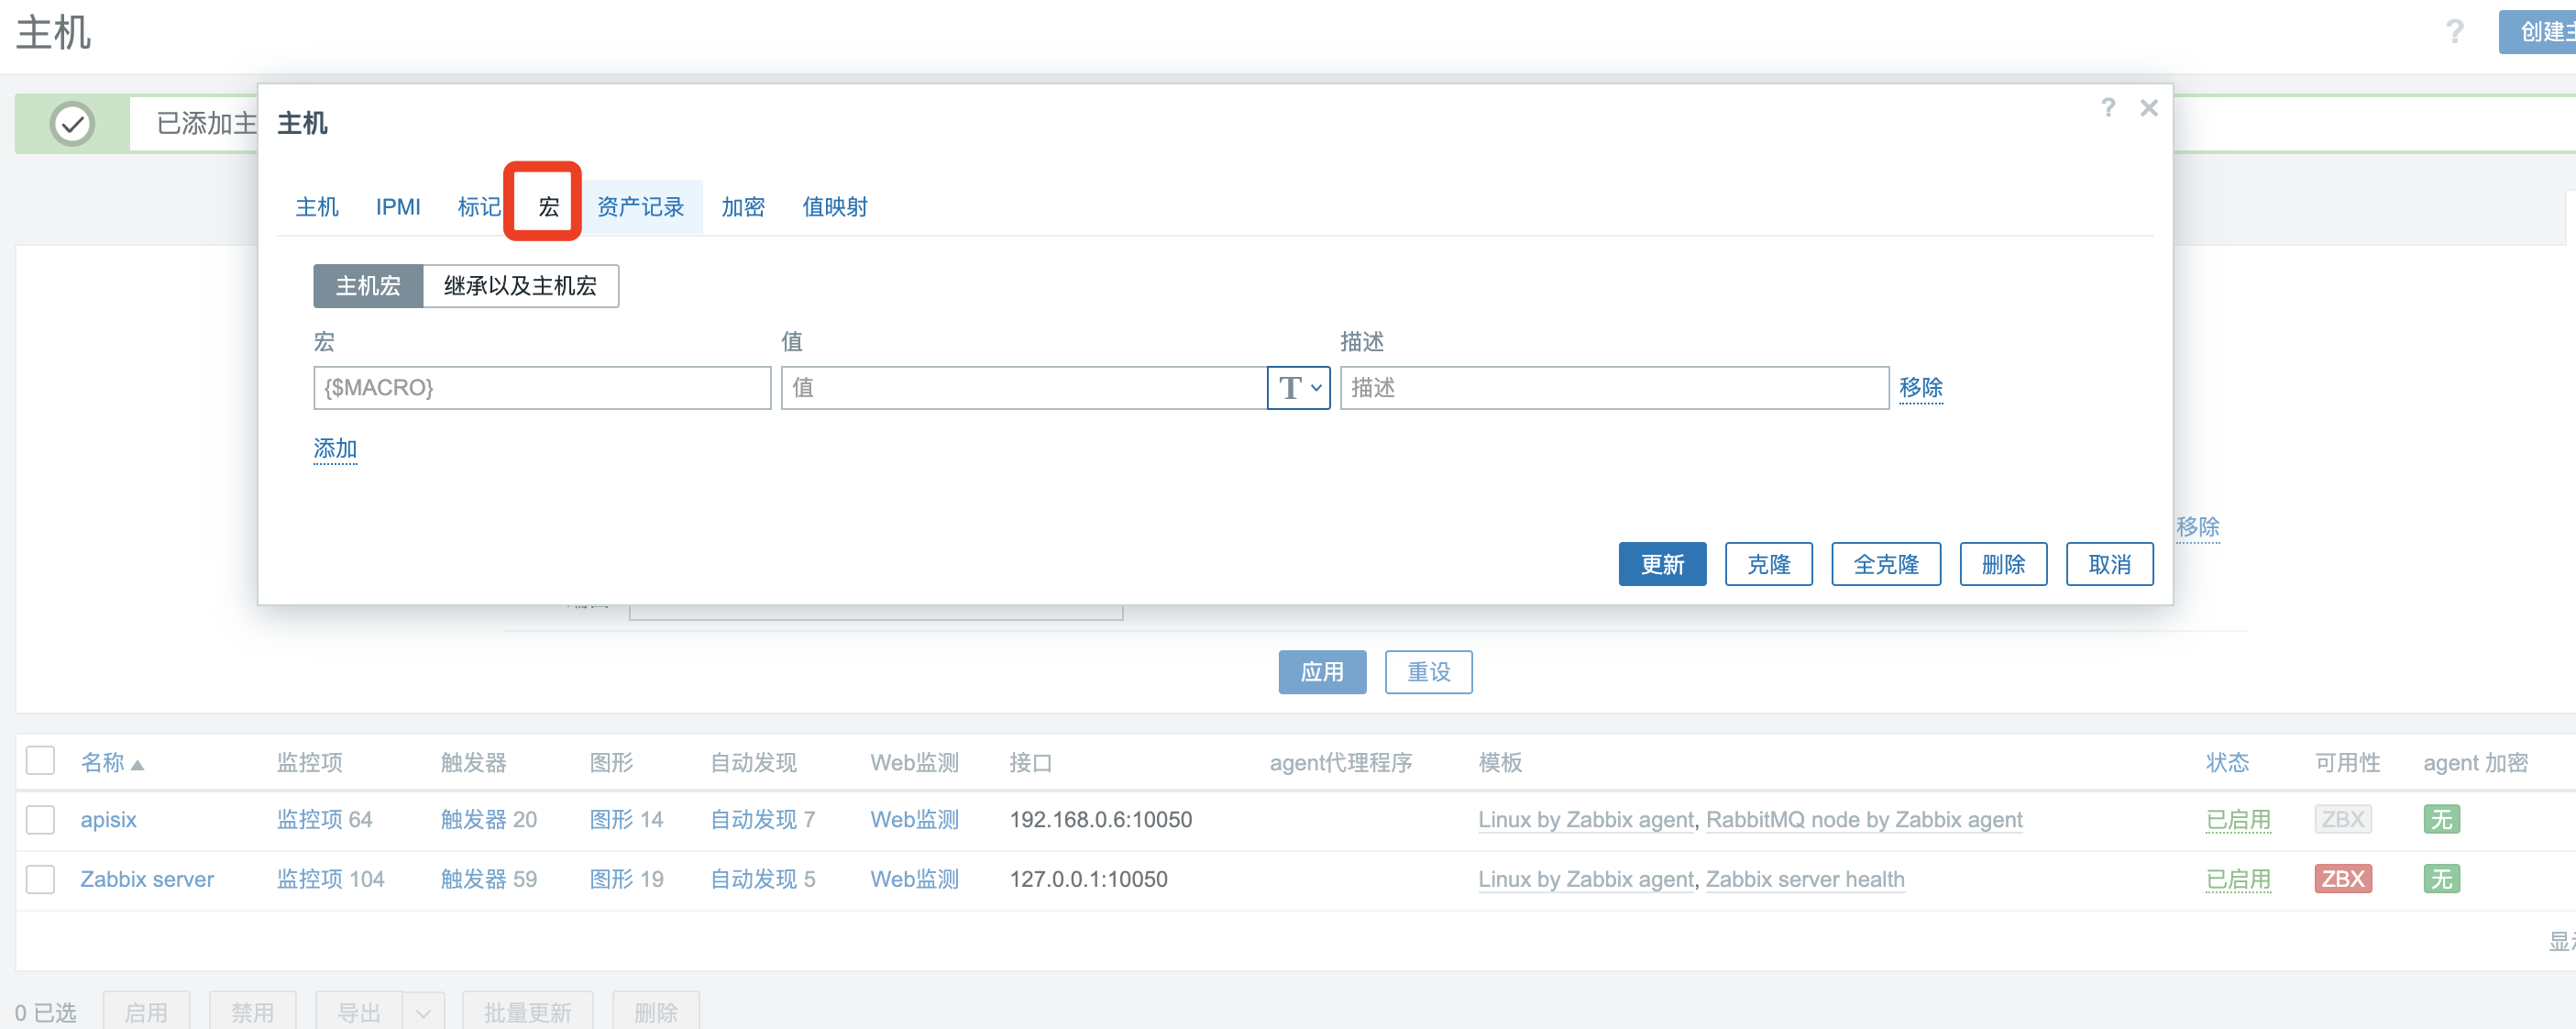
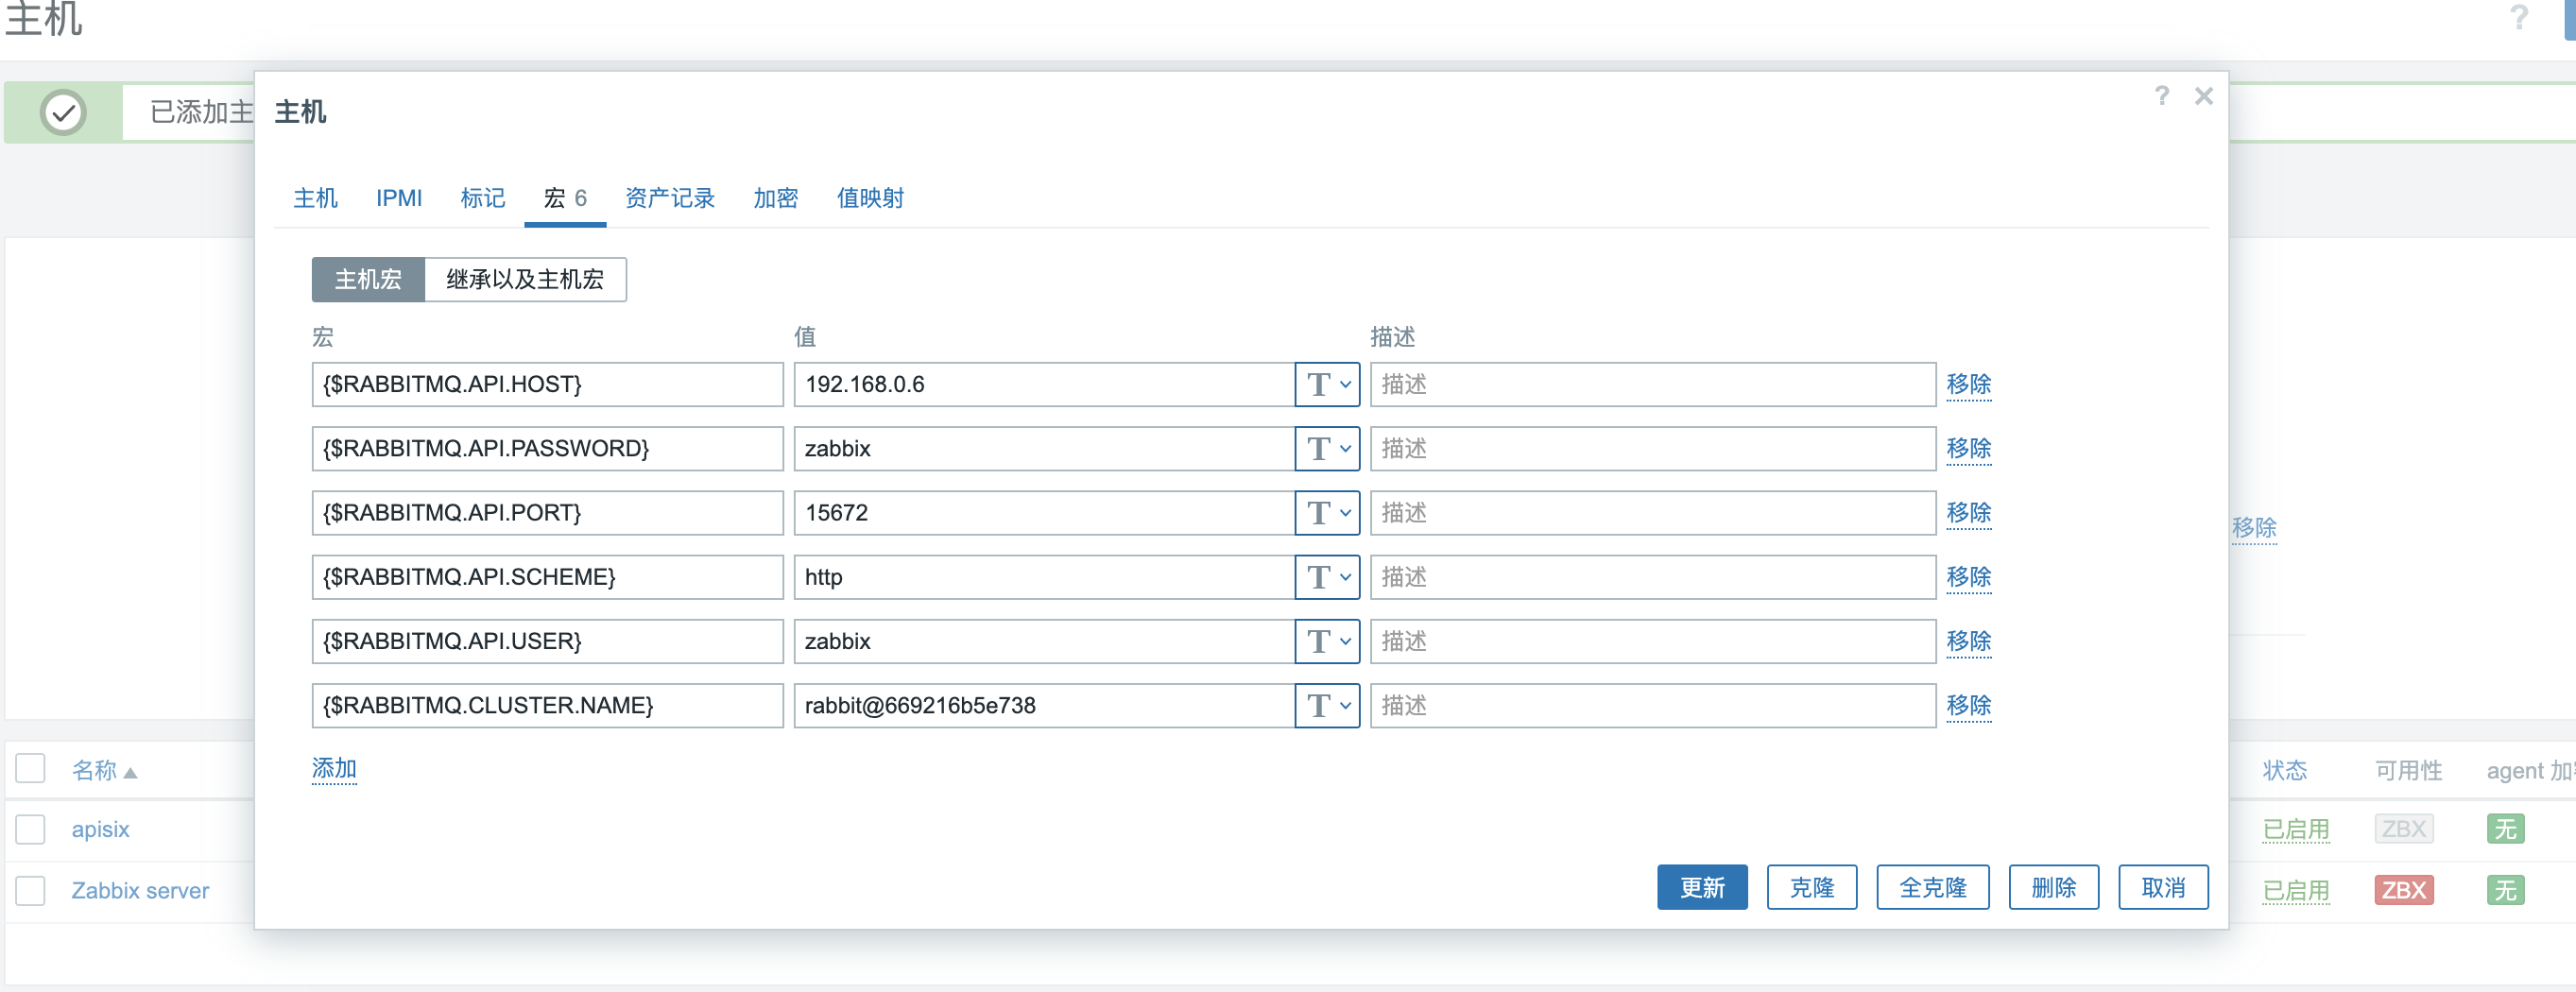
添加以下变量
- {$RABBITMQ.API.HOST} rabbitmq ip
- {$RABBITMQ.API.PORT} rabbitmq web端口号,默认15672
- {$RABBITMQ.API.SCHEME} http 协议为http
- {$RABBITMQ.API.USER} RabbitMQ 监控用户名,我这里使用zabbix
- {$RABBITMQ.API.PASSWORD} 密码写zabbix,根据我们上面创建的来
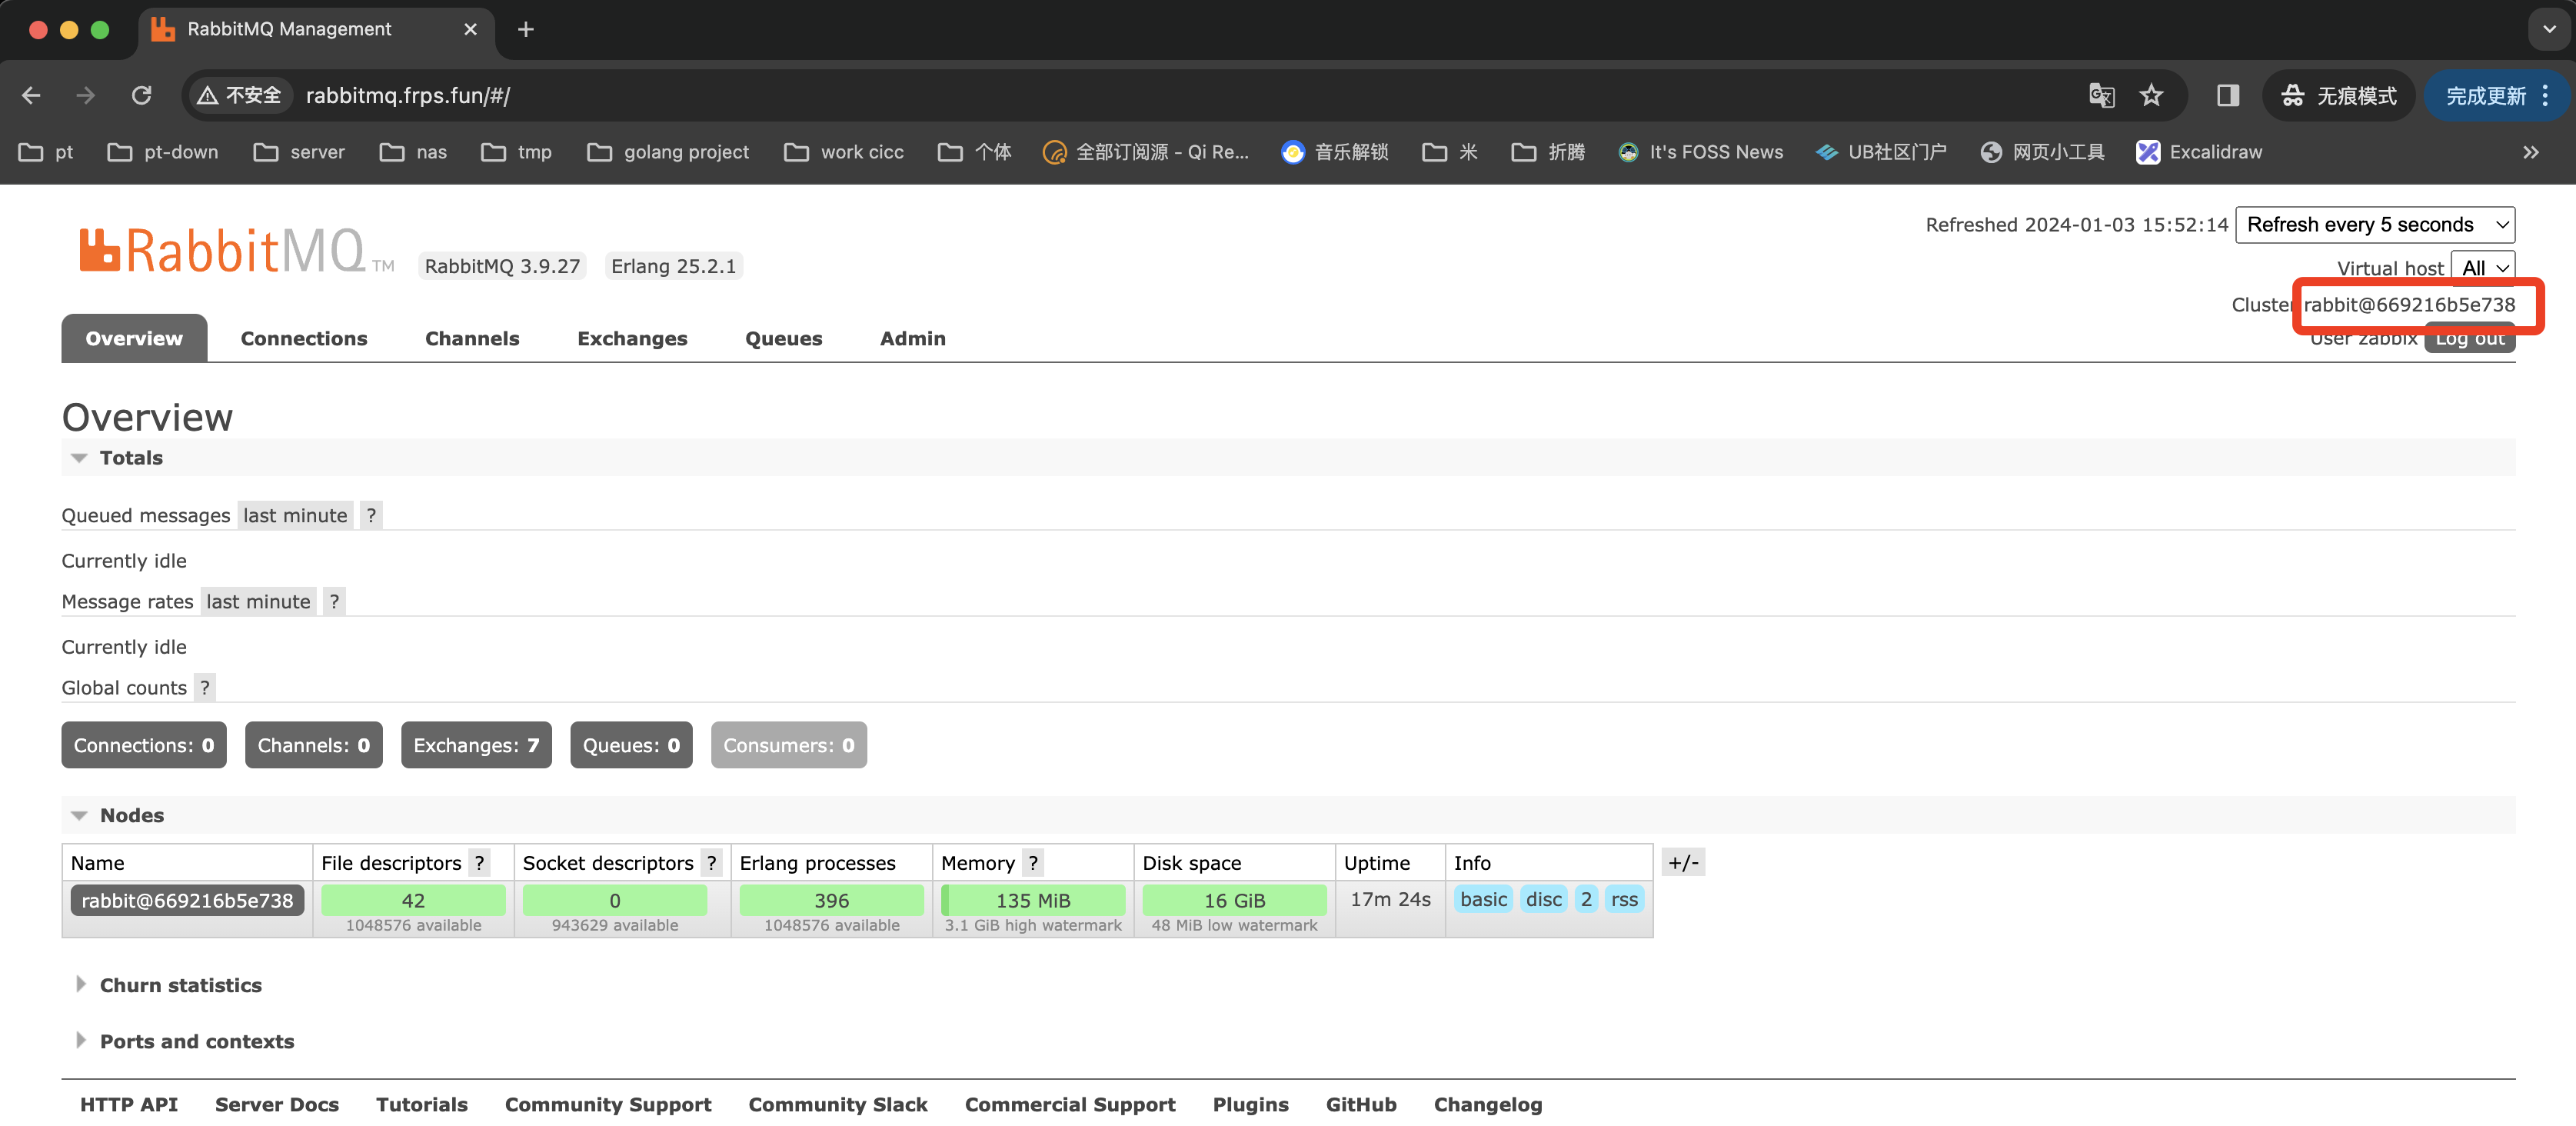
- {$RABBITMQ.CLUSTER.NAME} 集群名称
Cluster名称在web ui右上角即可看到
配置完成如下图
记得点击更新保存
接下来可以稍微等几分钟,然后查看Zabbix Server最新数据
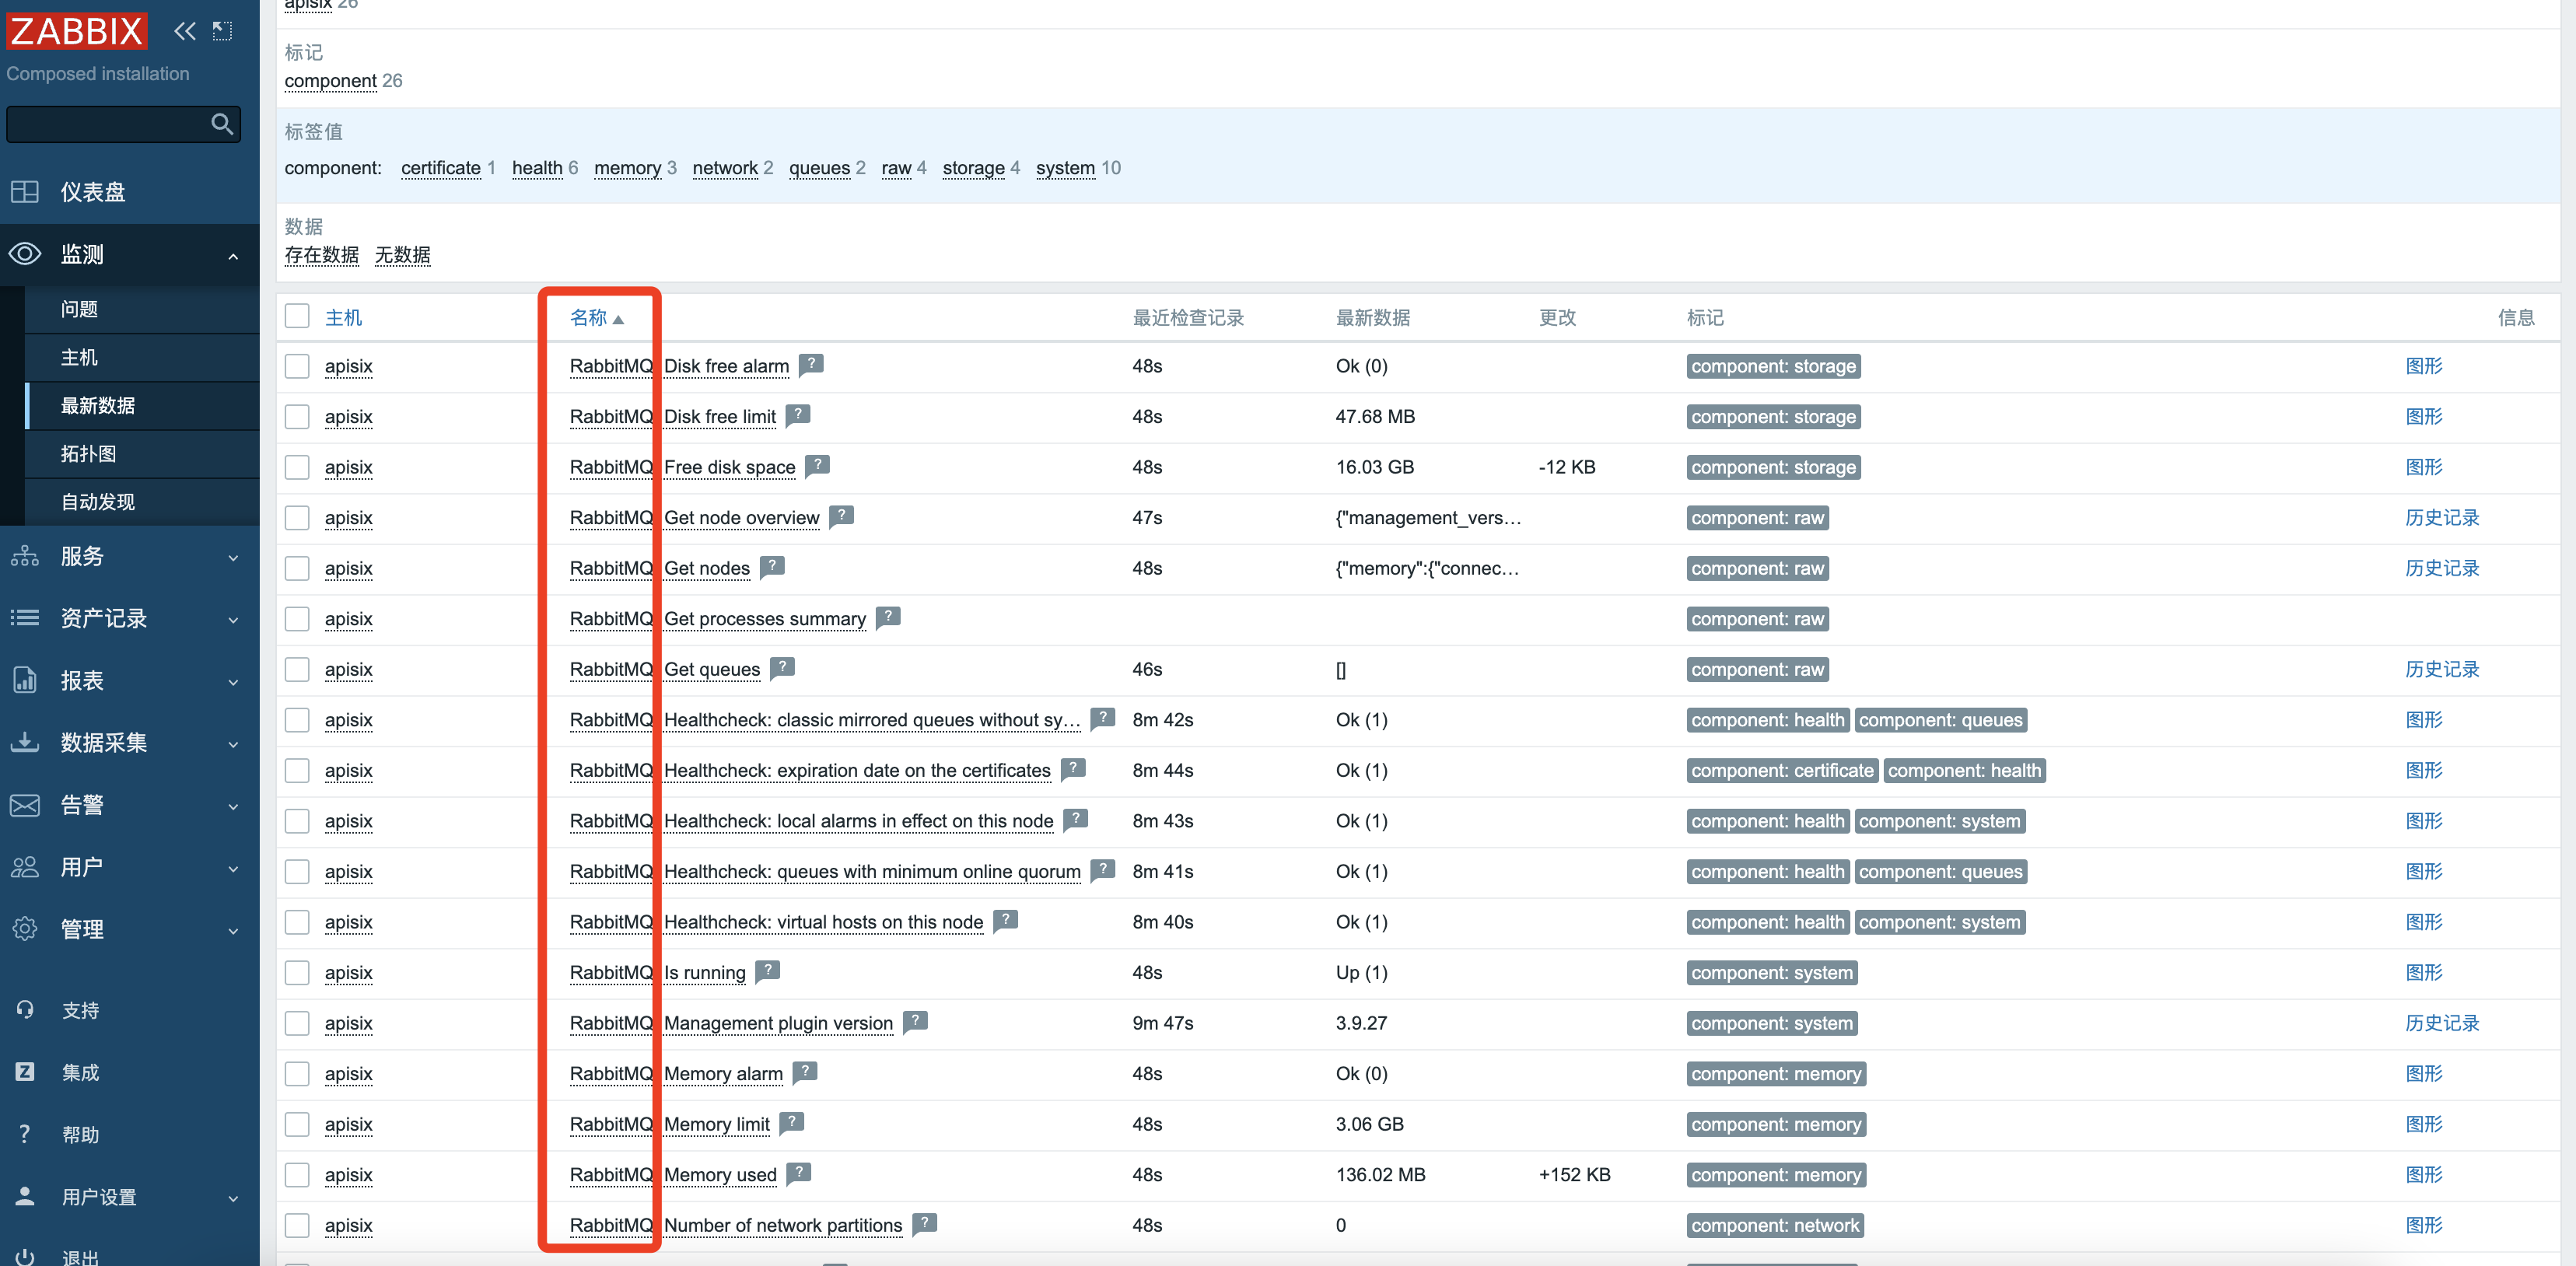
如果过了几分钟还没有数据,可以通过下面的方法查看一下,是否是用户名或者其它配置写错了
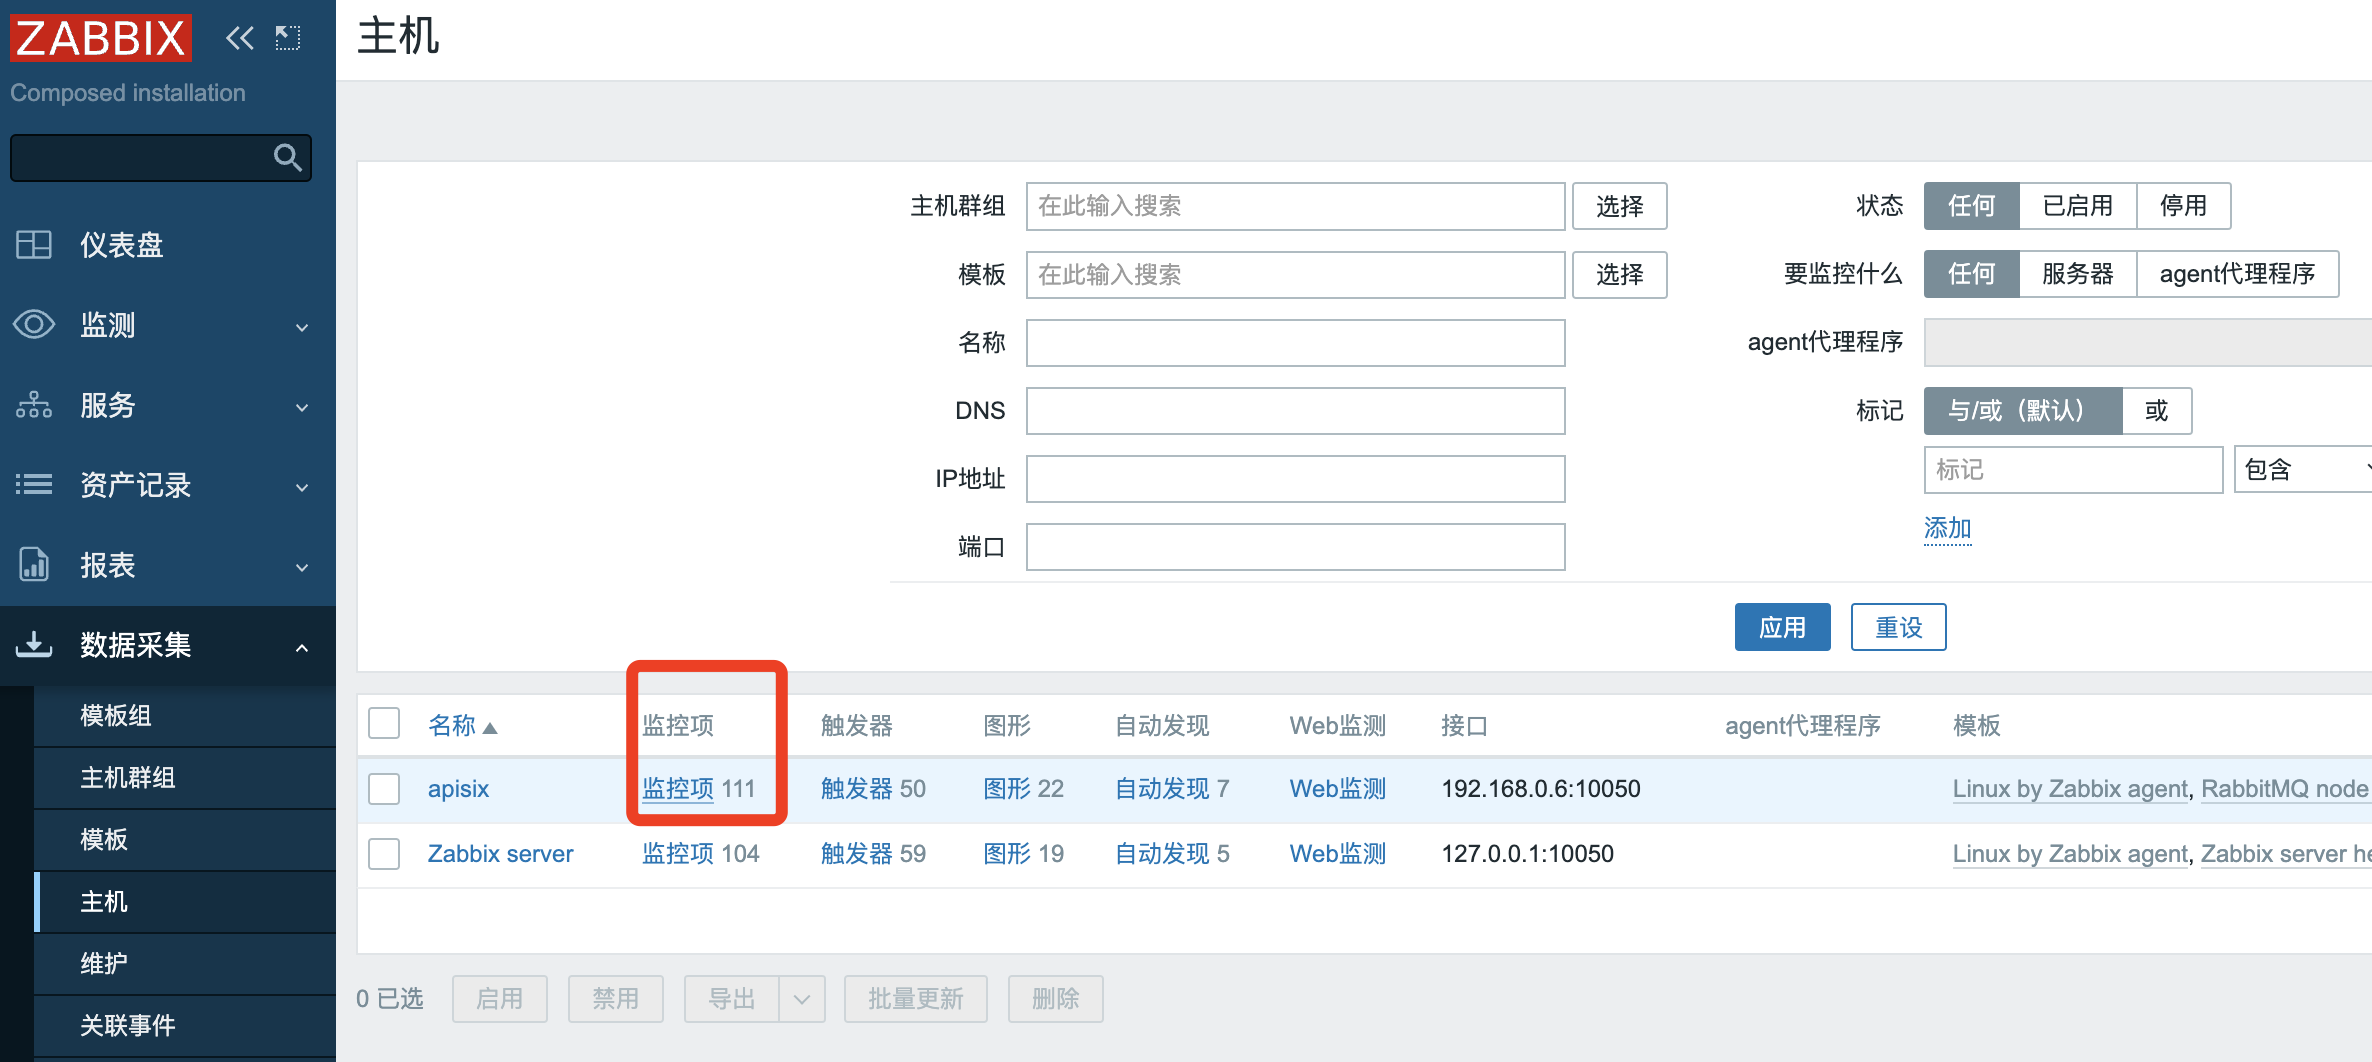
进入主机,找到监控项
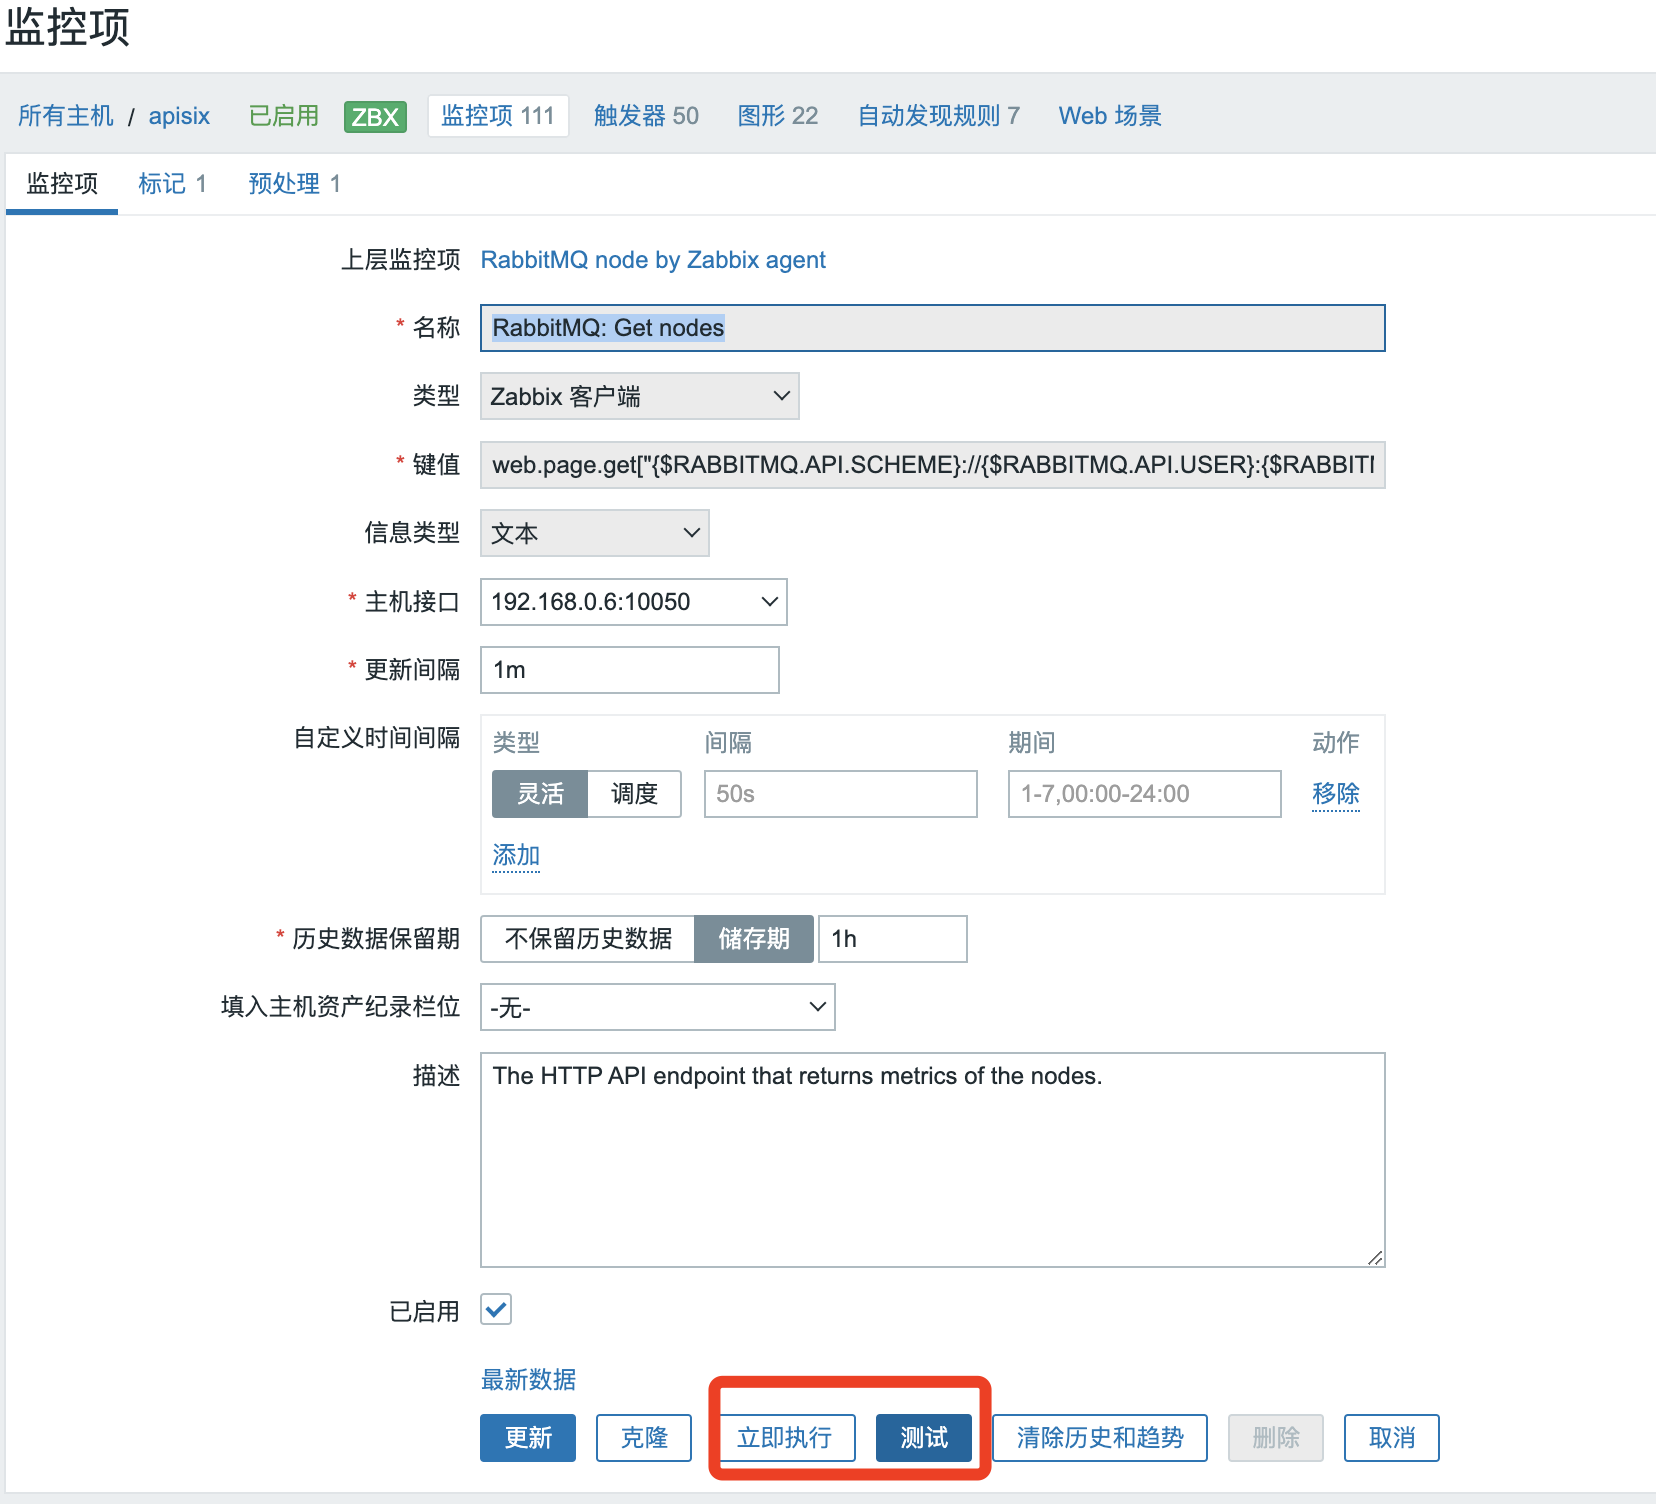
选择RabbitMQ: Get nodes触发器,这里可以先点击立即执行,在点击测试,刷新一下数据
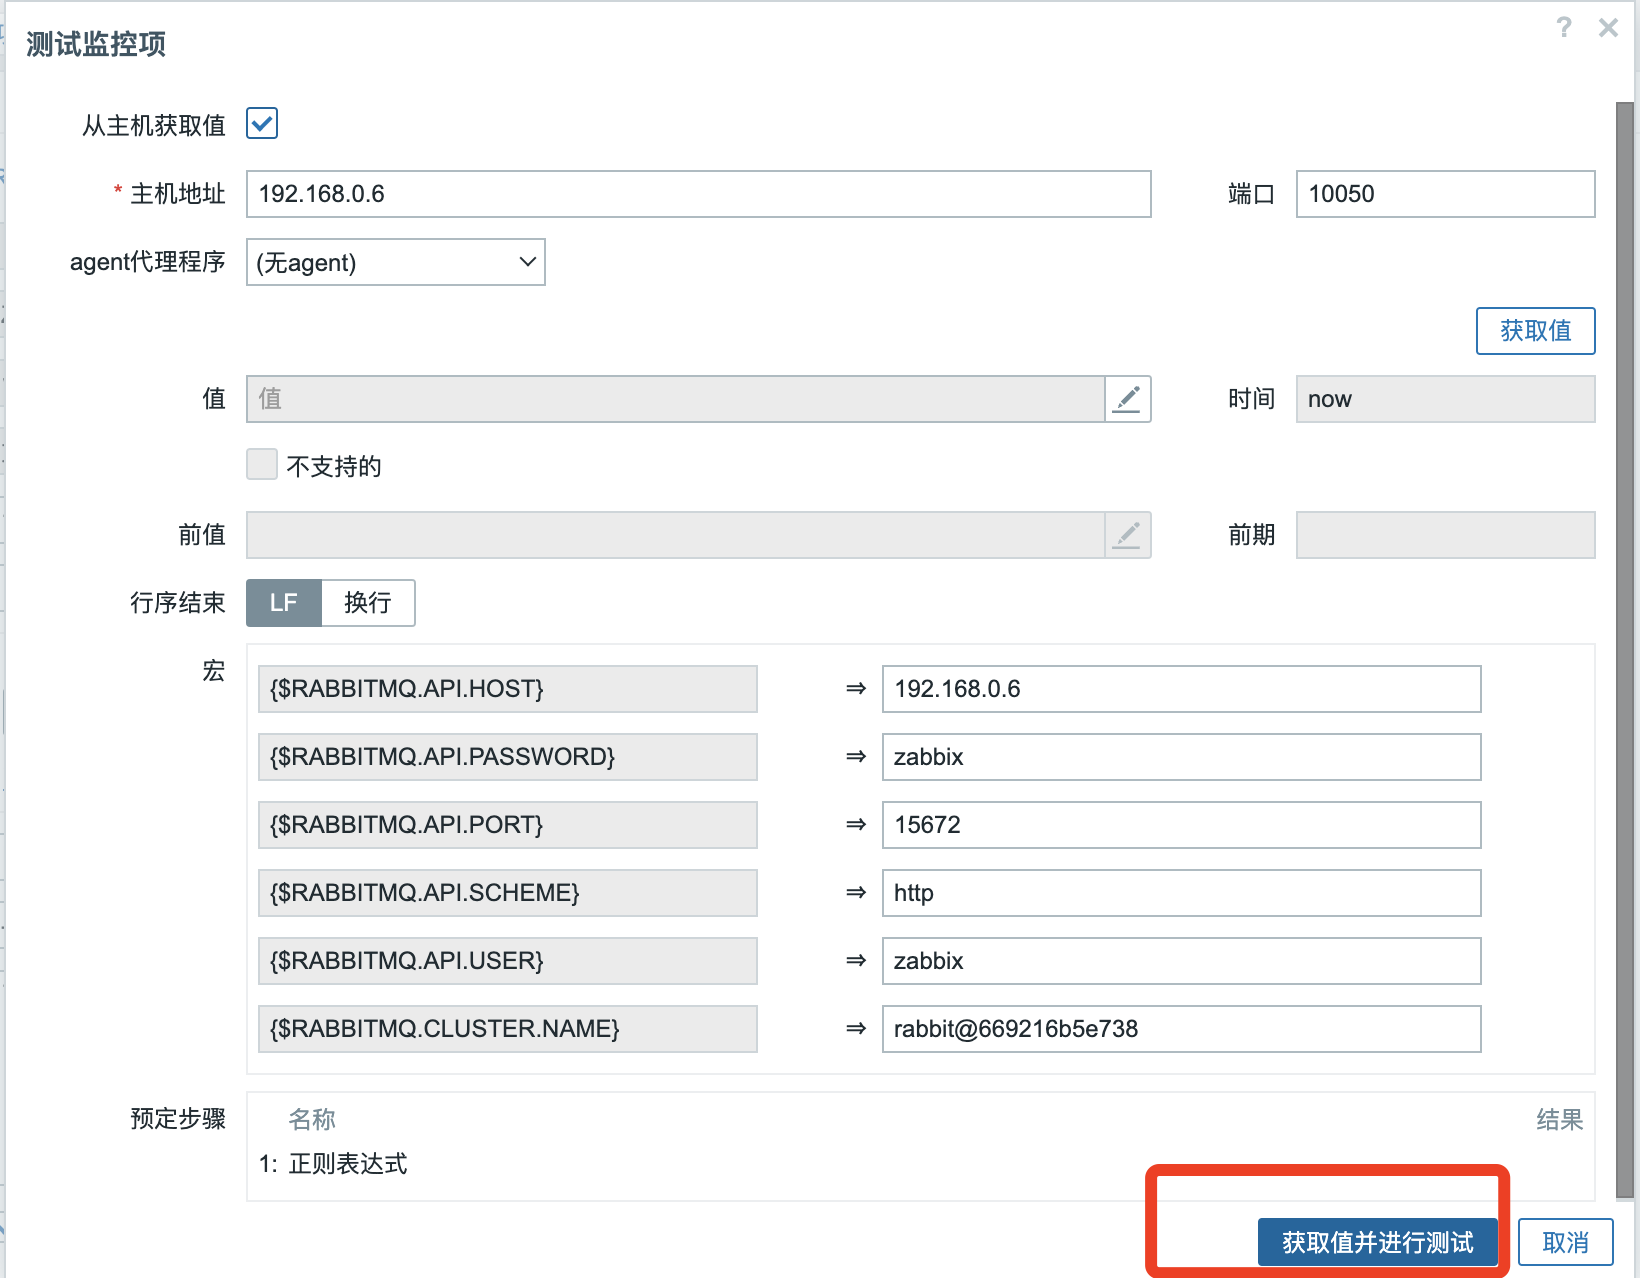
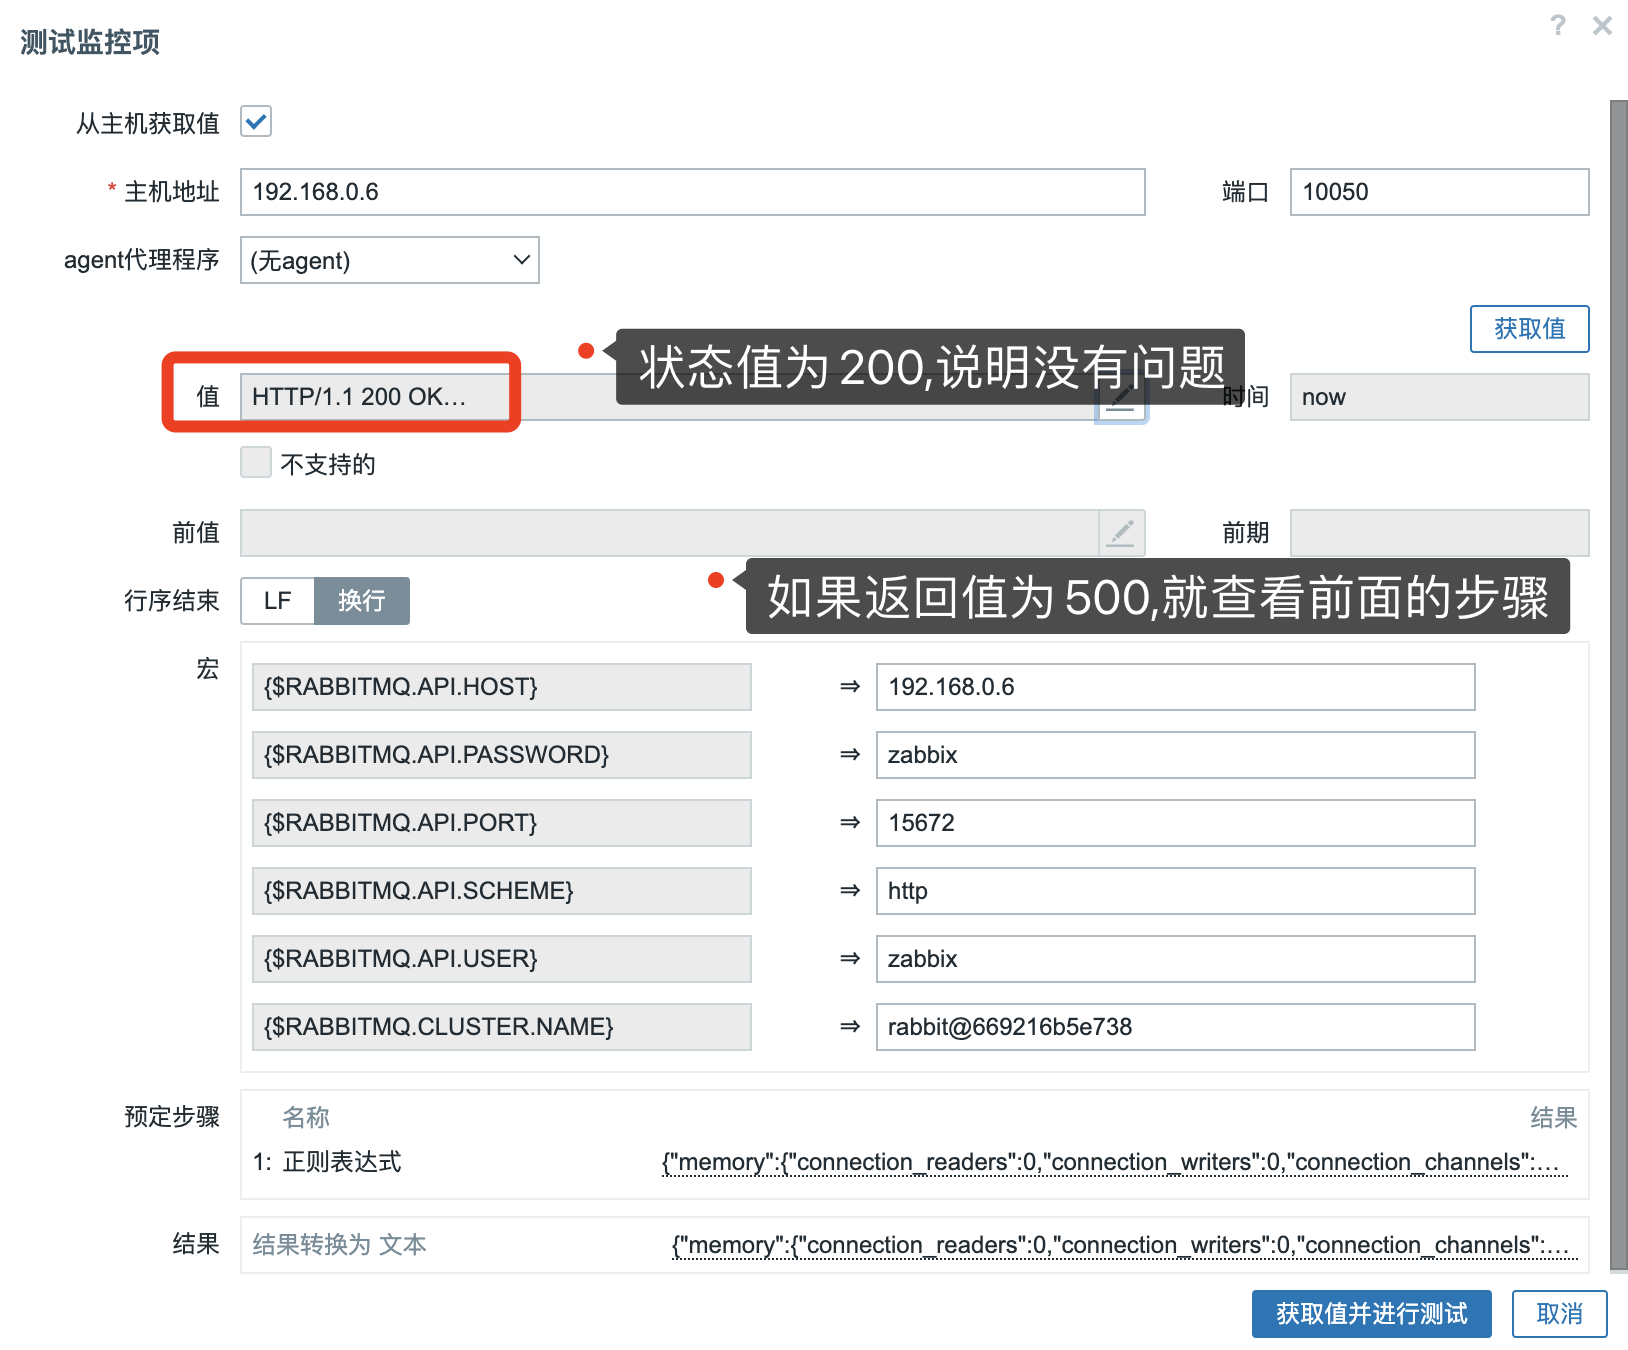
获取值测试数据
返回值如果非200,500的错误就请看一下是不是前面模板没有修改。
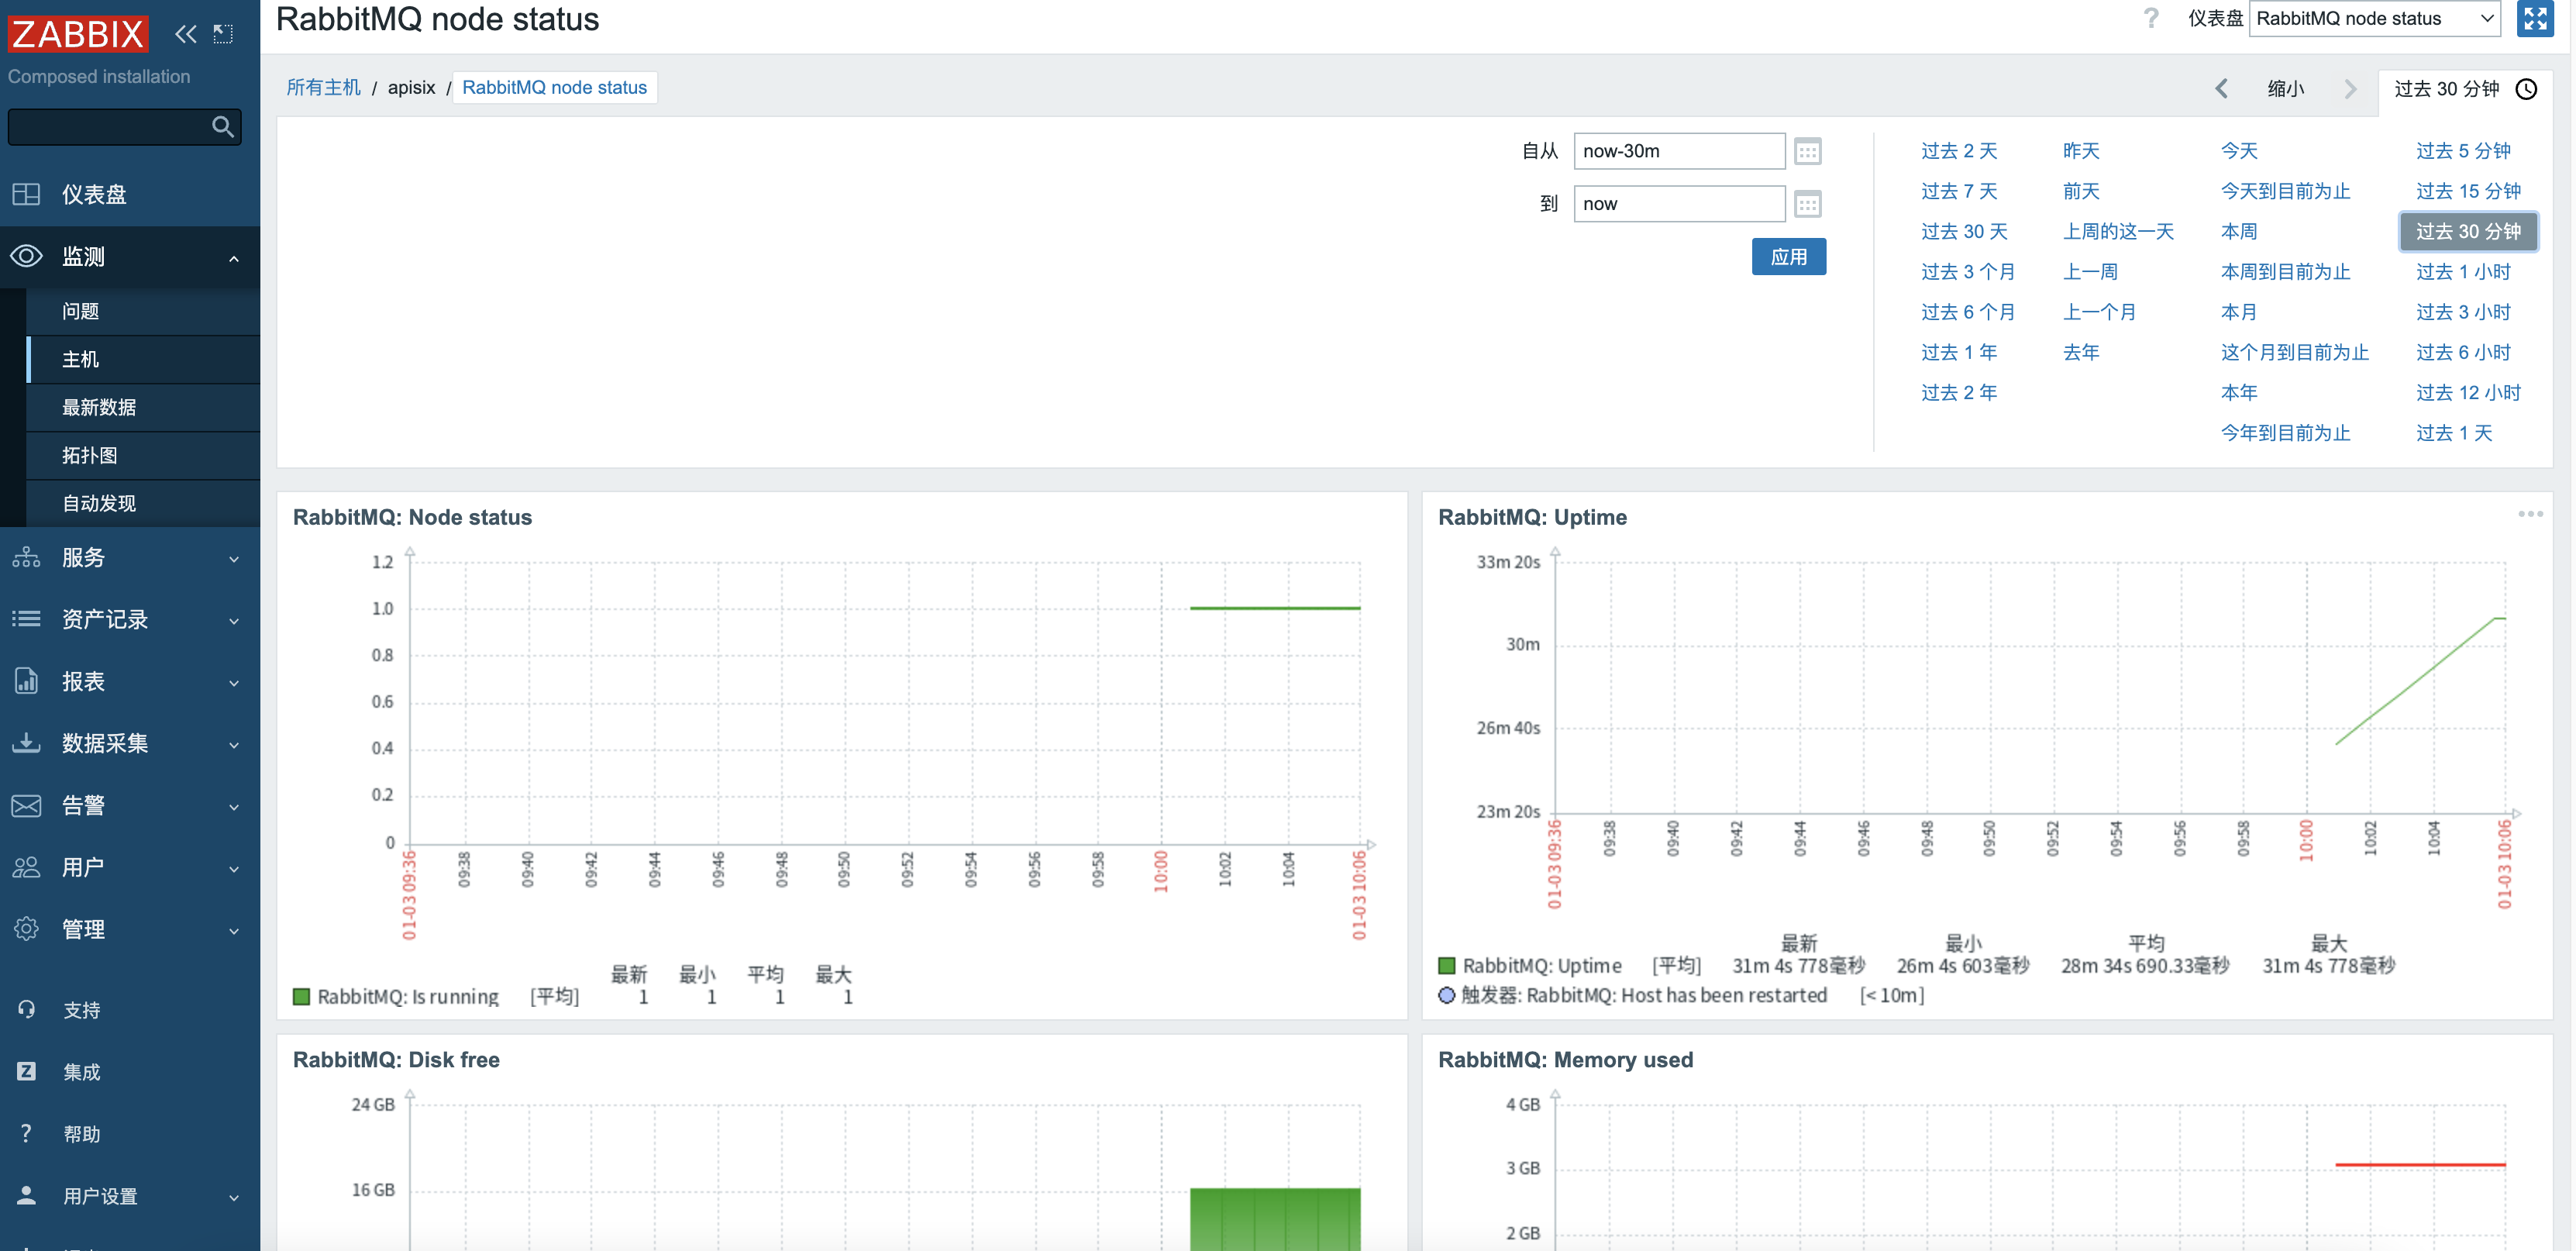
检测-->主机-->选择仪表盘
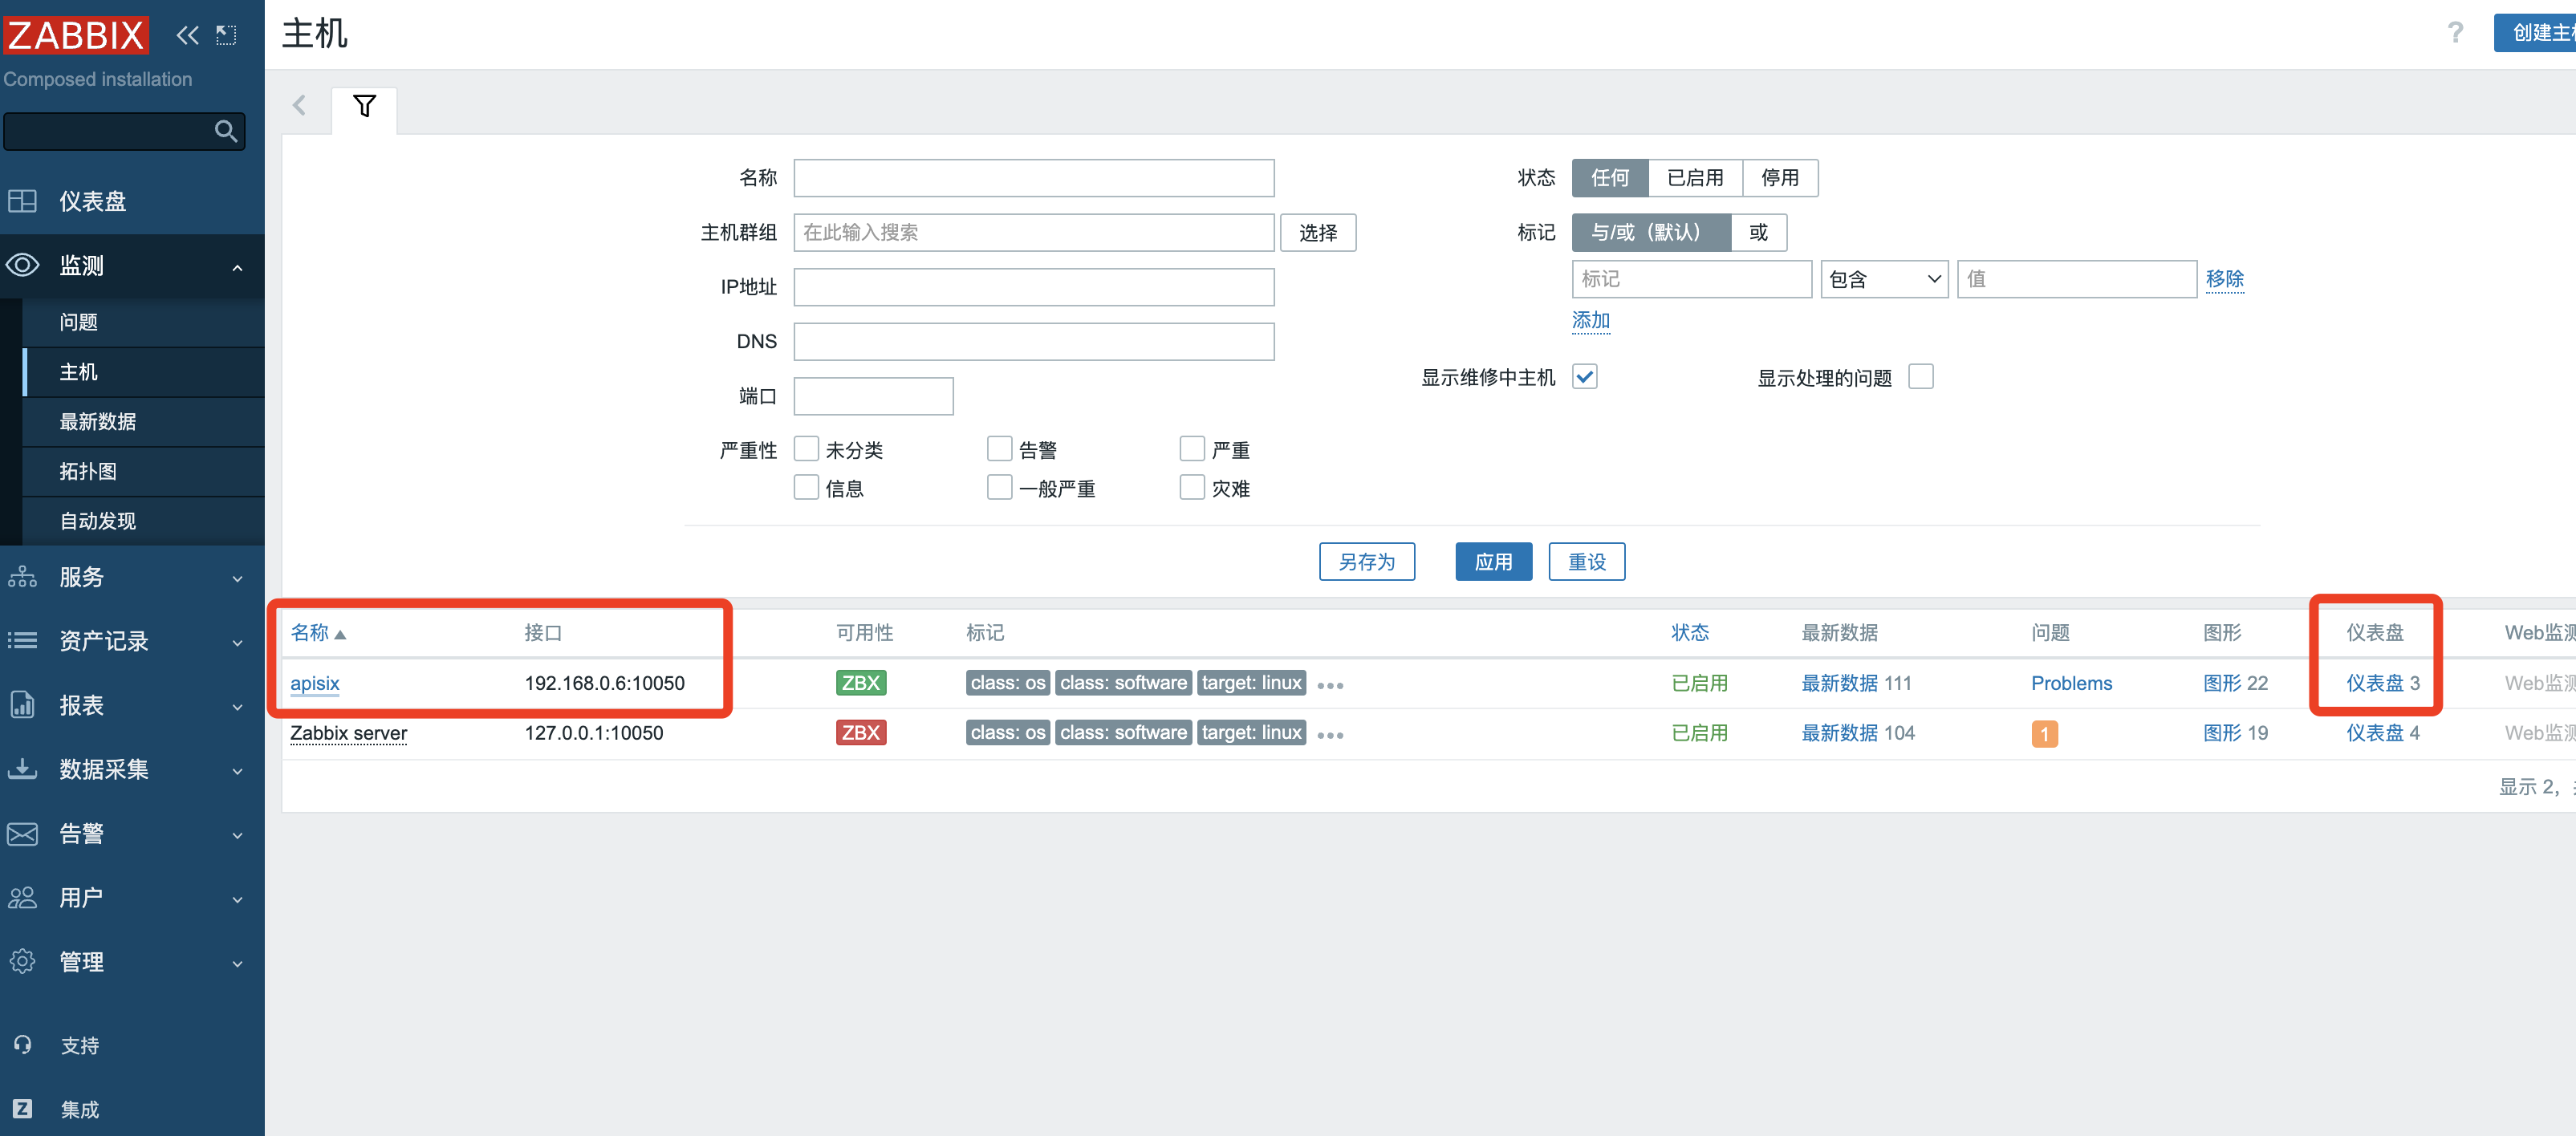
右上角选择RabbitMQ Server仪表盘
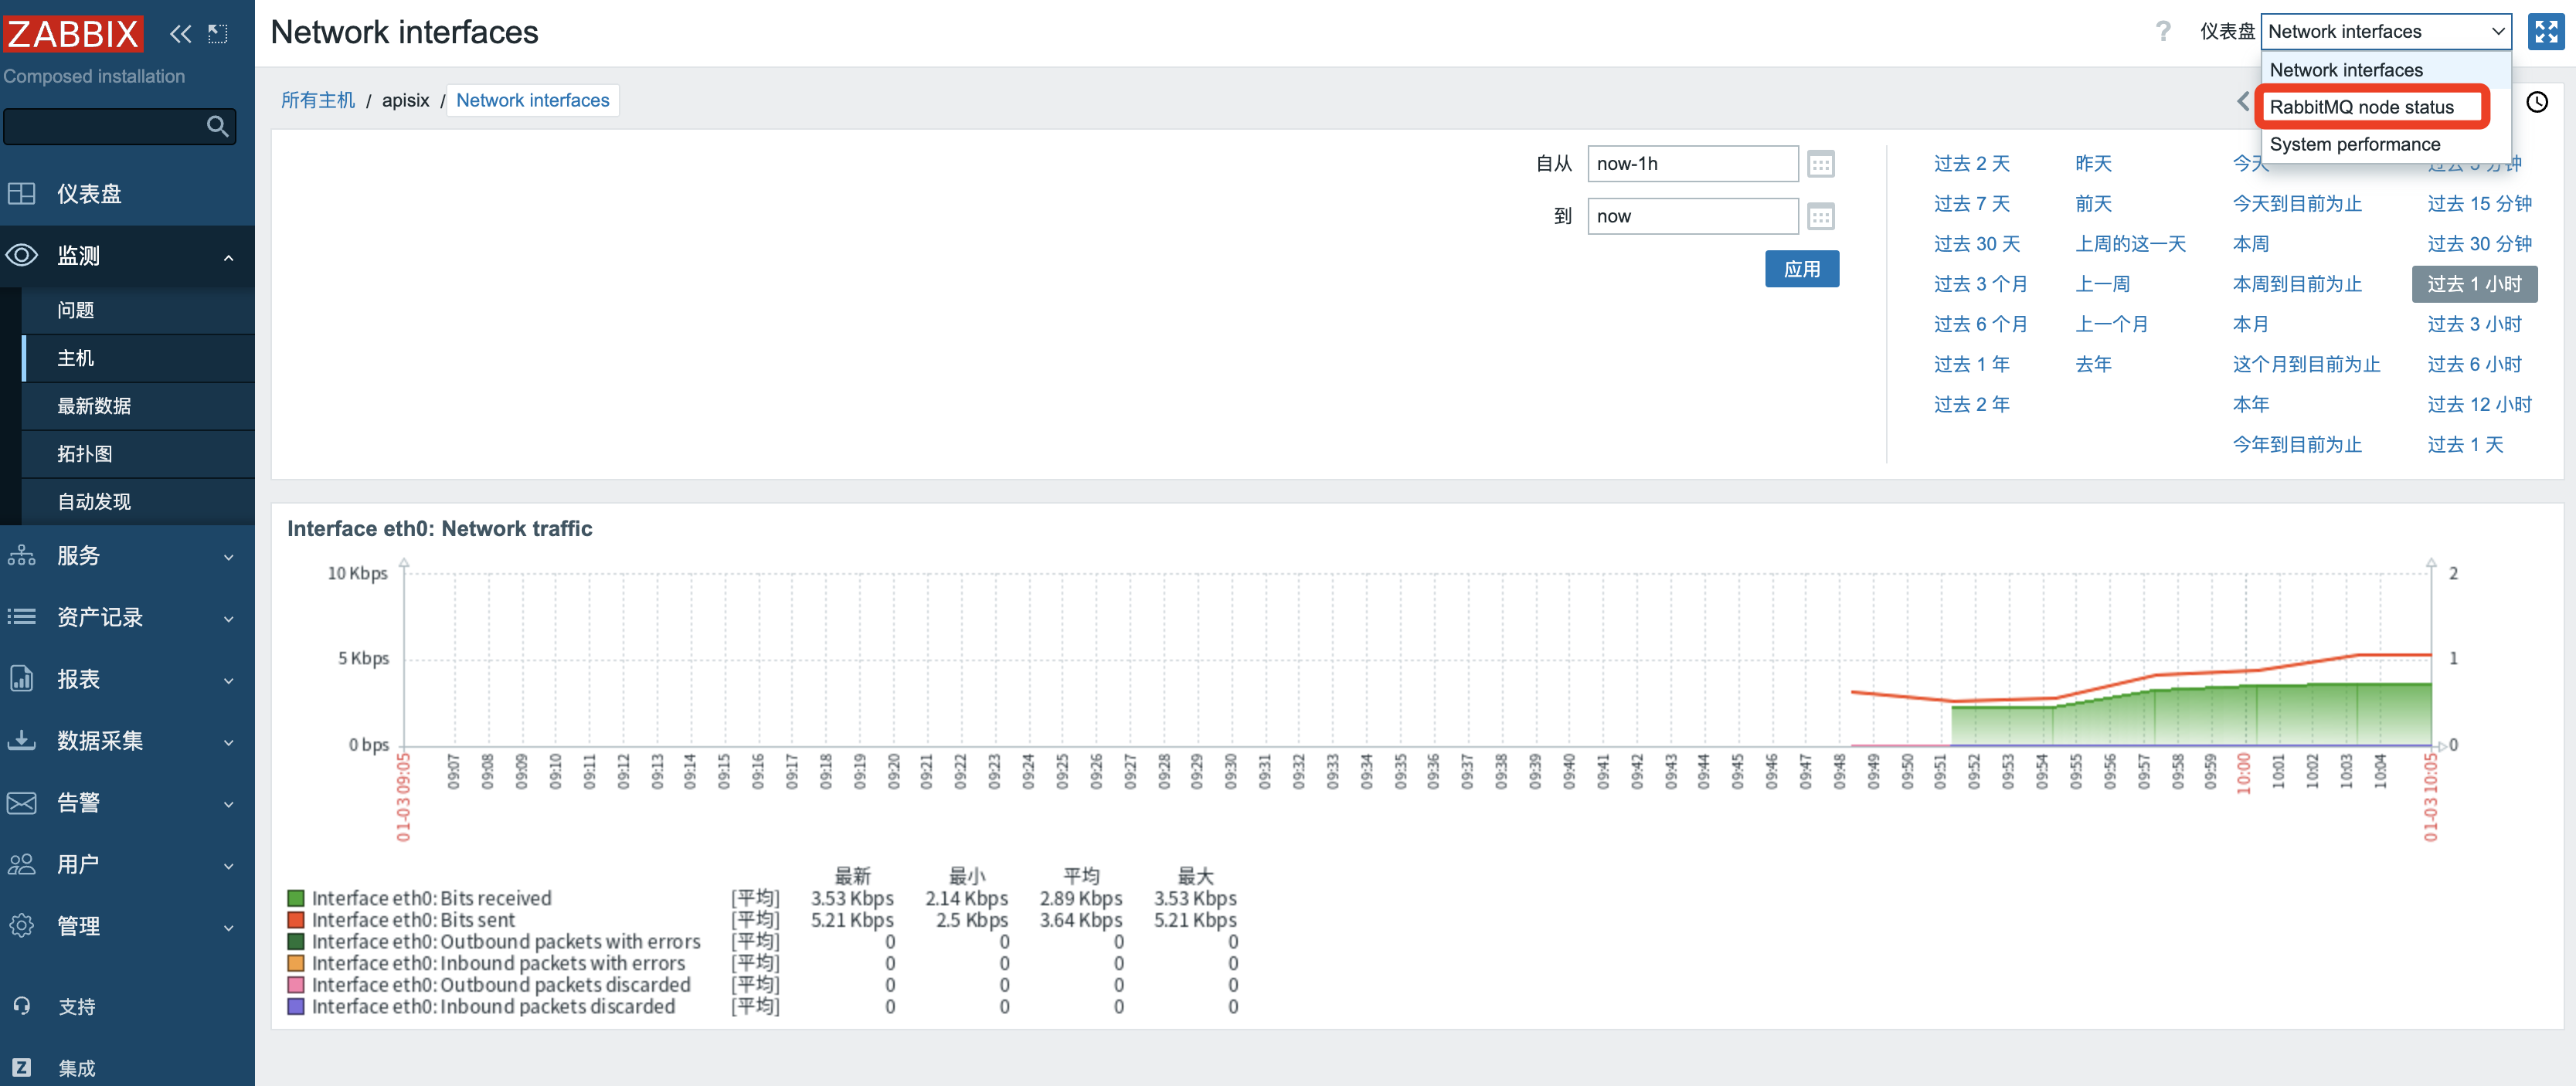
此时就可以获取到结果了
