
释放双眼,带上耳机,听听看~!
🤖 由 ChatGPT 生成的文章摘要
更新2022年11月03日
openvpn手动部署安装的文章可以参考下面的两篇文章

github地址: https://github.com/Nyr/openvpn-install
我这里使用腾讯云进行演示,可以使用国内云服务器,或者国外云服务器。实现的目的不相同。但是功能基本上相同,实现全局代理而并非HTTP代理

下载一键脚本
[root@VM-0-10-centos ~]# wget https://d.frps.cn/file/openvpn/openvpn-install.sh && bash openvpn-install.sh            #执行安装脚本

This server is behind NAT. What is the public IPv4 address or hostname?
Public IPv4 address / hostname [101.33.76.24]:       #监听的IP默认即可

Which protocol should OpenVPN use?
   1) UDP (recommended)
   2) TCP
Protocol [1]: 2             #协议我这里使用TCP

What port should OpenVPN listen to?
Port [1194]:                #端口可以额外制定,或者默认

Select a DNS server for the clients:
   1) Current system resolvers
   2) Google
   3) 1.1.1.1
   4) OpenDNS
   5) Quad9
   6) AdGuard
DNS server [1]: 3                       #DNS我这里选择1.1.1.1 DNS

Enter a name for the first client:
Name [client]: test                     #创建用户

...

The client configuration is available in: /root/test.ovpn
New clients can be added by running this script again.
[root@VM-0-10-centos ~]# sz /root/test.ovpn    #下载证书
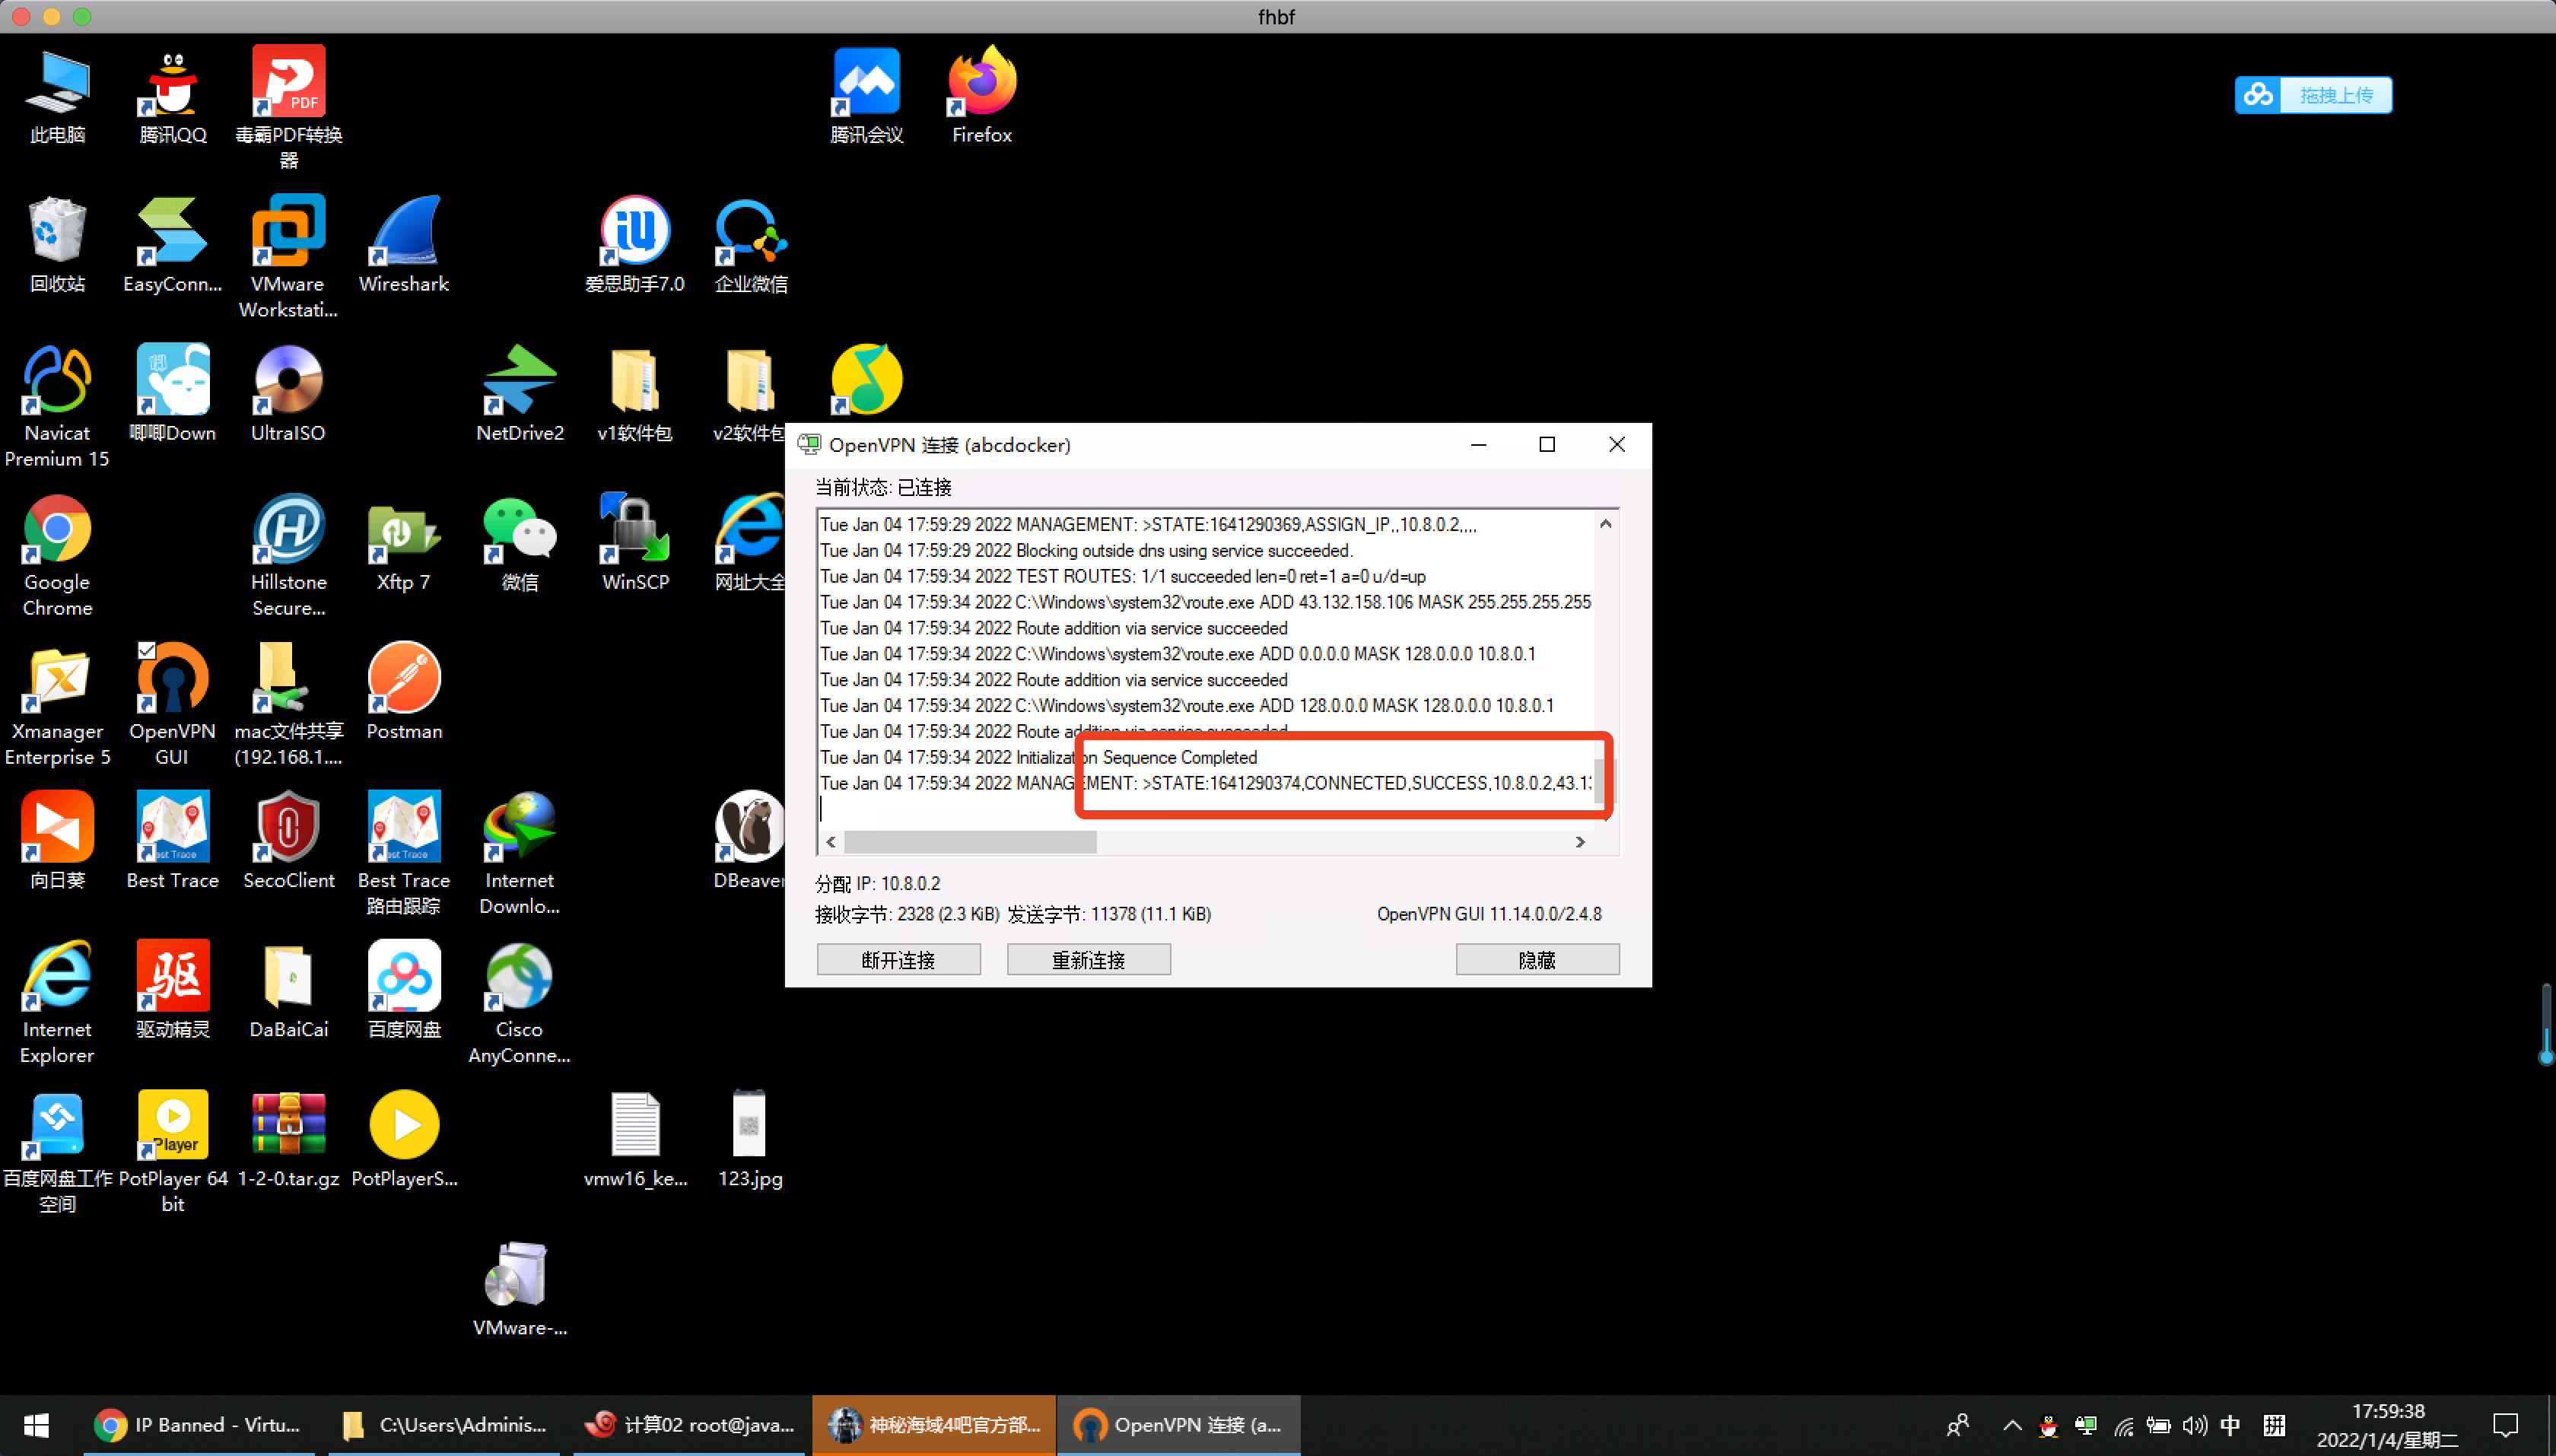
连接测试
OpenVpn我们导入刚刚下载好的证书
安装 OpenVPN 后,再次运行该脚本,将可以选择:
- 添加客户端
- 删除客户端
- 卸载 OpenVPN
.ovpn文件存放在/root目录中
效果图如下
dns需要使用可以ping通的服务器,我这里可以ping通1.1.1.1,所以使用1.1.1.1当,如果dns服务器不通会无法进行解析域名

添加客户端
[root@VM-0-10-centos ~]# sh openvpn-install.sh    #再次执行脚本
OpenVPN is already installed.

Select an option:
   1) Add a new client
   2) Revoke an existing client
   3) Remove OpenVPN
   4) Exit
Option: 1               #添加用户

Provide a name for the client:
Name: abcdocker             #输入用户名
Using SSL: openssl OpenSSL 1.0.2k-fips  26 Jan 2017
Generating a 2048 bit RSA private key
.....................................+++
.................+++
writing new private key to '/etc/openvpn/server/easy-rsa/pki/easy-rsa-5247.r1ZDxL/tmp.XGjs4R'
-----
Using configuration from /etc/openvpn/server/easy-rsa/pki/easy-rsa-5247.r1ZDxL/tmp.ZrbsWZ
Check that the request matches the signature
Signature ok
The Subject's Distinguished Name is as follows
commonName            :ASN.1 12:'abcdocker'
Certificate is to be certified until Jan  7 05:39:30 2032 GMT (3650 days)

Write out database with 1 new entries
Data Base Updated

abcdocker added. Configuration available in: /root/abcdocker.ovpn   #导出证书


?
大佬,为啥重启不了这个用脚本搭的openvpn
用systemctl 重启不了openVPN吗?
对,systemctl 重启不了
ps -ef|grep openvpn,保存启动命令,然后kill-9进程
大佬我加你qq了
大佬,启动不了啊,卡这里好久了?